Create an Azure Virtual Environment – Accessing Storage Accounts
This article is the fourth in a mini-series that will show you how to build out an Azure virtual environment to do learning and testing with. If you already have a subscription that’s awesome! You can get the first 30 days for free with a Microsoft Azure trial account right here. Check out the first steps for getting logged into Azure Portal and creating a resource group here. Today we are going to look at how to access our storage account within the resource group we created in the previous article here. Let’s dive right in today shall we!
First, let’s get logged back into your Azure portal at https://portal.azure.com.
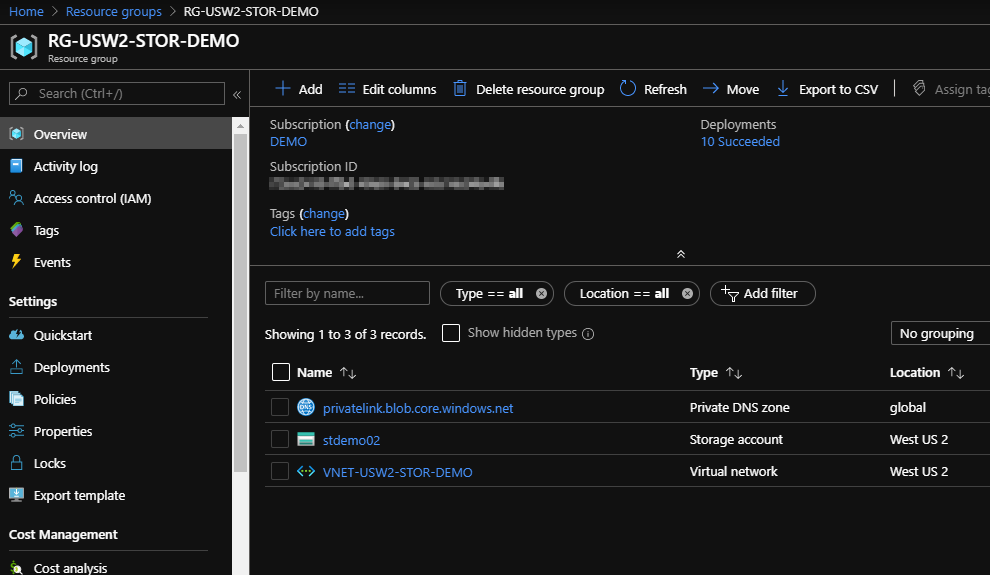
Now, let’s browse to the resource group:
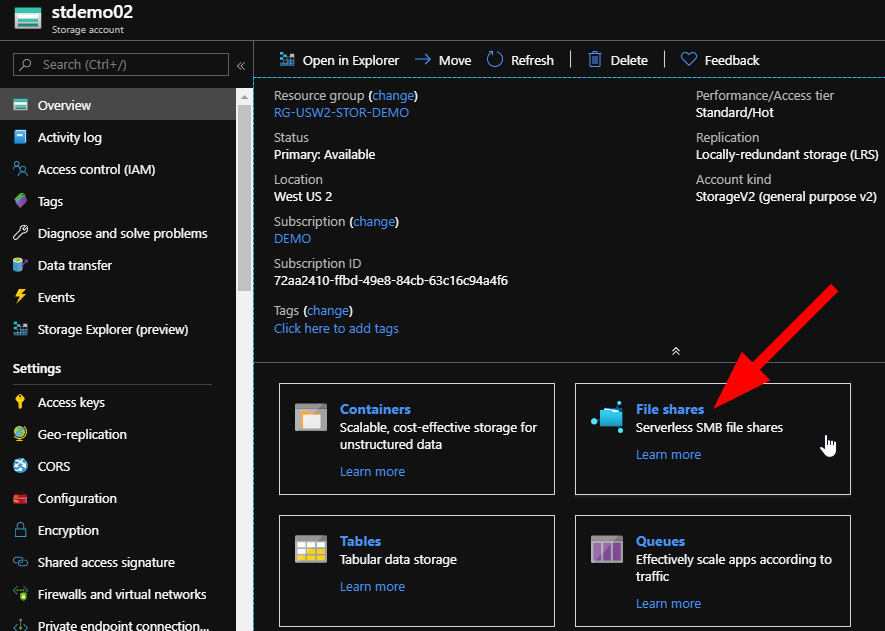
Now, let’s go to our storage account and check on how we can access data stored inside Azure. Open your storage account and click on File Shares.
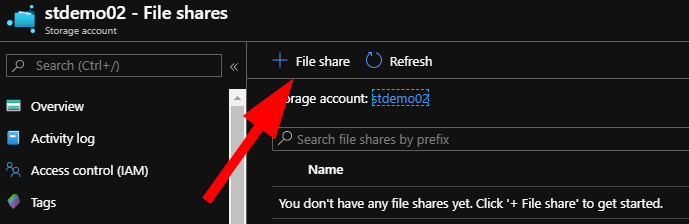
Now let’s click on + File Share to add a new file share inside the storage account.
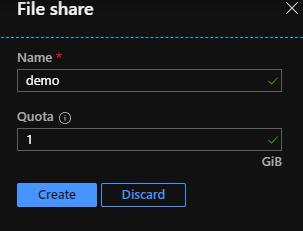
A new blade will open where you must enter a name and quota. The quota is the file size limit you would like to place on this file share. If you’re using this in production (you wouldn’t do learning in production would you?) remember that users often require education on what storage limits are there and sometimes we need to help other people understand contributing factors such as cost, compatibility, design, etc. Once you’re ready, enter the information, let it give you that awesome green checkmark that ensure your information is validated, then click on Create.
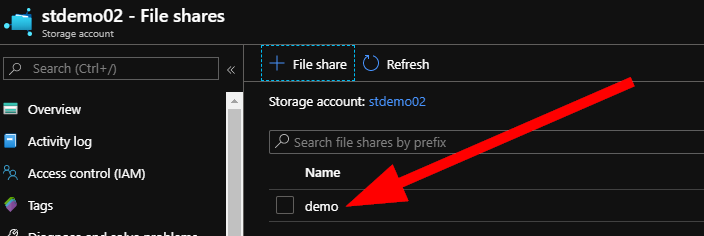
Once it creates your share, and it should be pretty quick, you will see it listed under File Shares inside the storage account:
Now, let’s do something really cool that we couldn’t do until recently…we will use Storage Explorer to access the data in our testing storage account via a web browser!
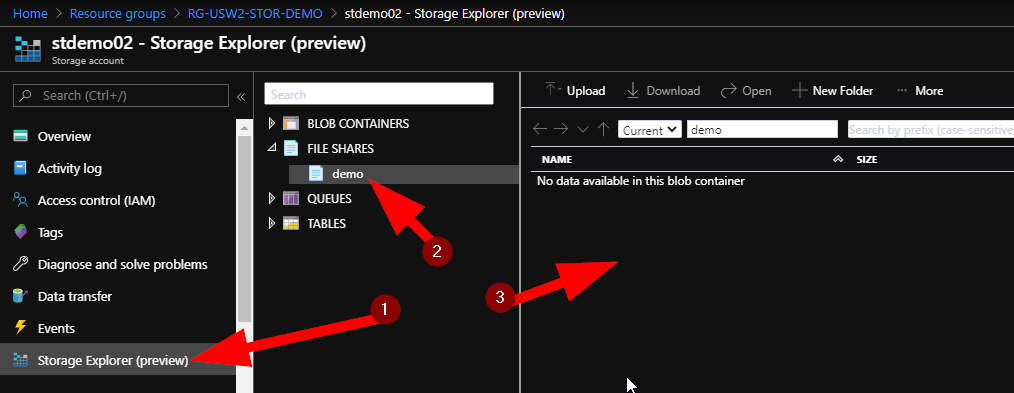
First, still inside the storage account, click on Storage Explorer (Preview), then expand File Shares and click on your new named share that you just created. And look….we can interact with data by uploading, downloading, opening files, and creating folders….all in the secure storage environment within Azure through our web console! Amazing!

I’m going to be a bit cheeky and upload the Azure CLI installer into my Azure storage demo account. Fun times!
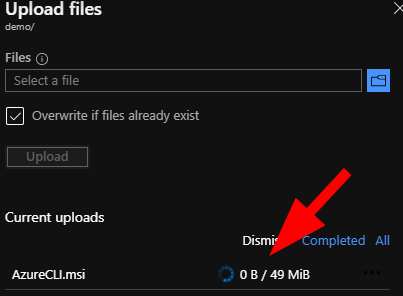
If you are uploading multiple files at once, you will see them listed here with the progress of the uploads. Once completed, you get a wonderful little green checkbox to tell you it was successfully uploaded.
As a quick note about testing, storage, and costing; remember that the more we store, the more we will pay for that cloud storage. Now the amount of data that we are uploading into Azure today amounts to pennies, but do remember that pennies add up to dollars pretty fast sometimes!
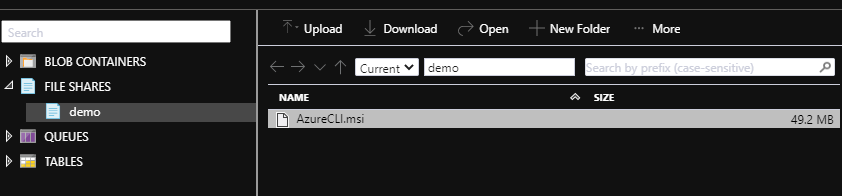
Now, as we clear the file upload blade and go back to the demo File Share in the Storage Explorer interface, we can see that we now have a file sitting in Azure!
This is the recommended way to interact with your storage file shares if you need to migrate a small amount of data — say in the 500MB range. This is perfect for firing up test environments due to speed and ease.
In the next article, we’ll take a look at how to access this installer in a different way from the storage account to your desktop, or inside an Azure VM.