
Create an Azure Virtual Environment – Storage Accounts
This article is the third in a mini-series that will show you how to build out an Azure virtual environment to do learning and testing with. If you already have a subscription that’s awesome! You can get the first 30 days for free with a Microsoft Azure trial account right here. Check out the first steps for getting logged into Azure Portal and creating a resource group here. Today we are going to deploy a storage account within the resource group we created in the previous article. Let’s dive right in today shall we!
First, let’s get logged back into your Azure portal at https://portal.azure.com.
Now, let’s browse to the resource group:
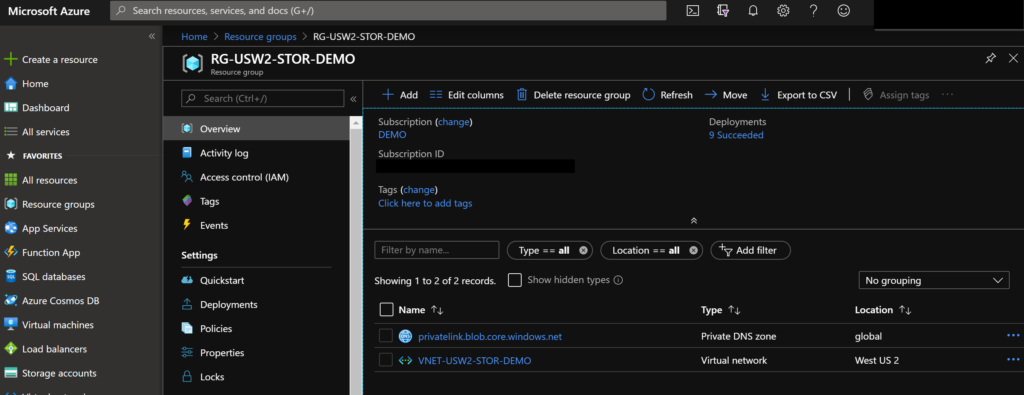
If you remember from the last article, we named our group RG-USW2-STOR-DEMO. This stands for resource group – us west 2 – storage – demo; or what it is – where it is – type of resources intended to be in the group – and finally the purpose of the group. This type of descriptive naming is something I like to utilize whenever possible as the next person looking at it should be able to figure that name out pretty quickly.
Now, to add a resource in our group we are going to use the Azure Marketplace. Let’s click on Add:
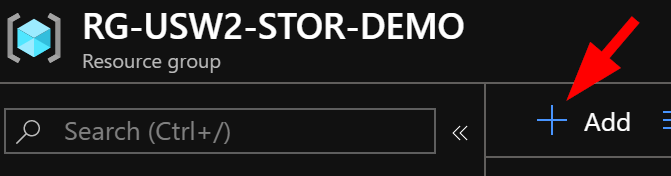
You should see this:
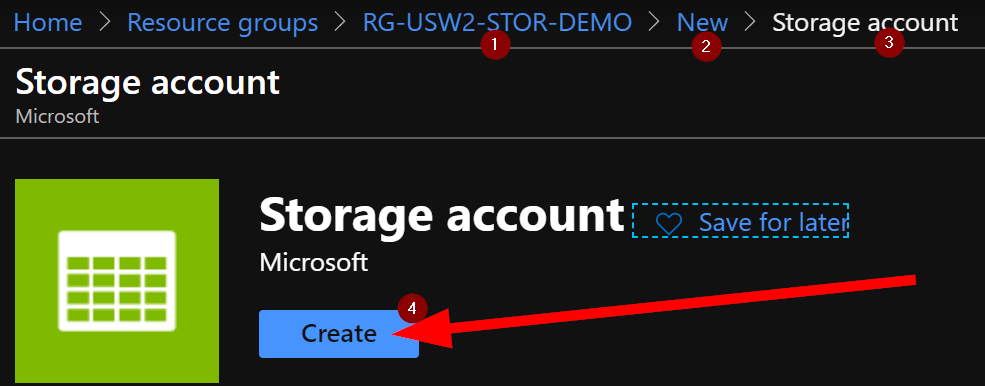
Now, note the bread-crumb navigation that Azure provides so we can easily see where we are. We can see that we’re inside our resource group > creating something new > hey! It’s a storage account!
Ok, click on Create.
Now, we have a few things to fill out here. First let’s confirm that the resource group is selected correctly (should be by default).
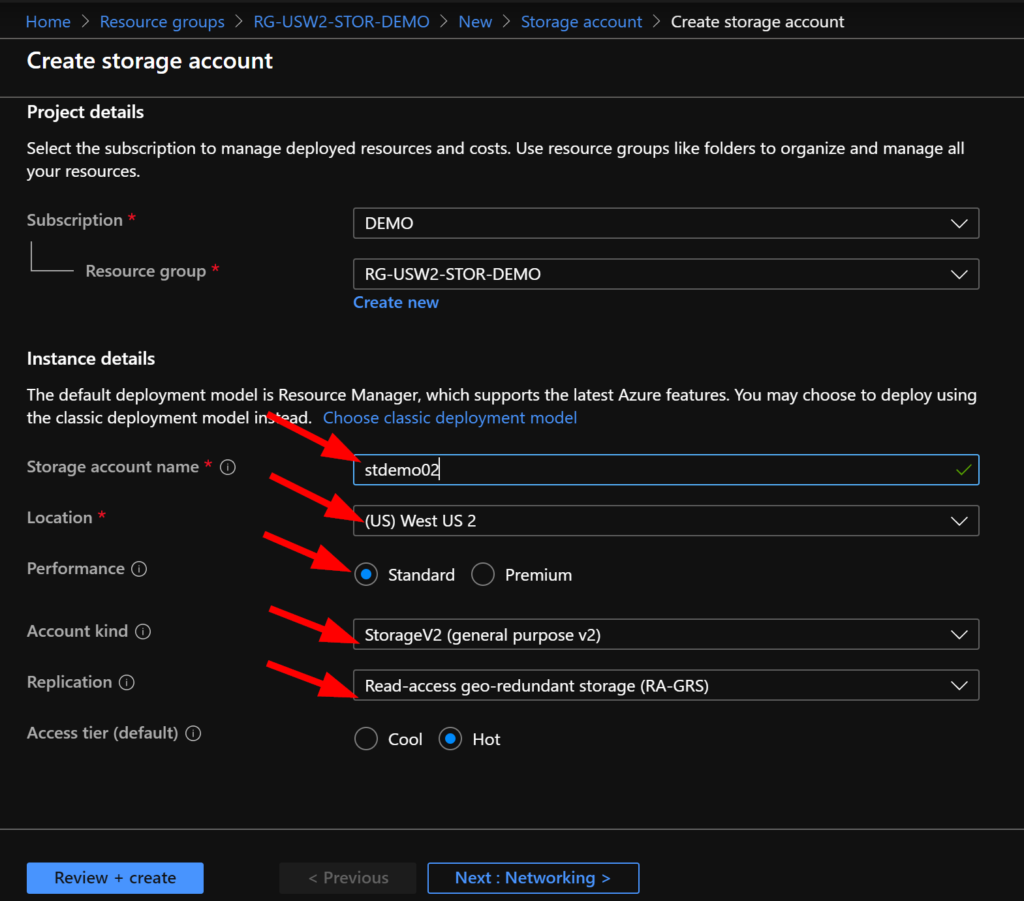
Then enter the following:
- Storage account name — this must be unique so you might have to try a few variations to capture a name that makes sense and is unique. Remember lowercase and numbers only here!
- Select your region – should be the same as your resource group but it does not have to be. Region can also impact cost.
- Performance – I shouldn’t have to say this, but this will impact cost. This will impact the rate, limits, etc for your I/O and IOPS.
- Account kind – This is the type of storage you’d like, there are tons of documentation on what type is right for your needs here. Typically a general usage is suggested to be StorageV2 so that you can scale it as needed.
- Replication – In simple terms, this is: in the same rack, in a different datacenter in the same the same region, in a different region, and read-access in a different region. This will also impact your cost and could cause you to incur data egress charges, think about your selections carefully here please.
- Type – Cool vs Hot – this is the frequency with which you will access the data. Think of like a wallet: is this the debit card in the front that you use all the time, or the credit card in the back hidden away that you use to buy only well thought-out purchases at your favourite electronics store. Dare I say that I should re-think my wallet strategy….
For today’s overview, I will not be talking about some of the other features within the tabs, so today let’s click on Review + Create.
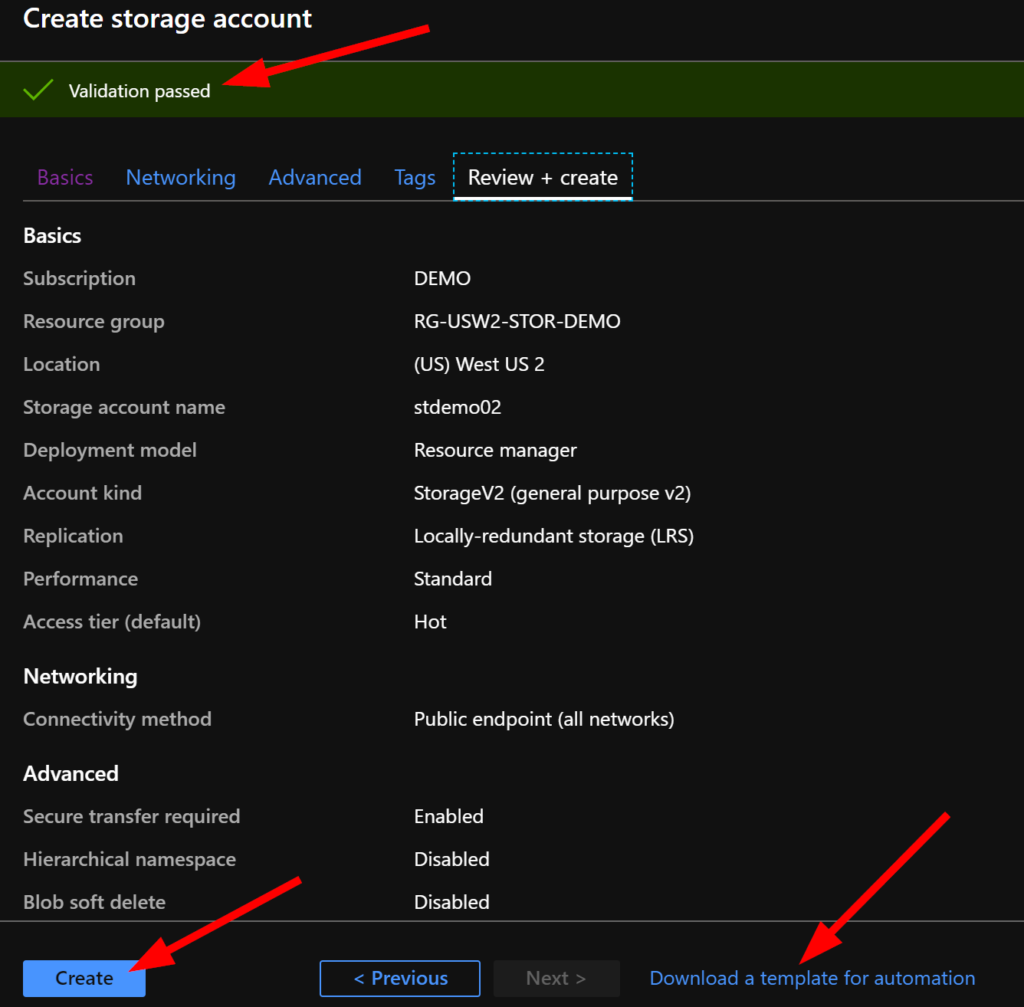
You should see Validation Passed in a lovely green bar at the top of the blade. Review your details and confirm this is what you want to create then click on the Create button.
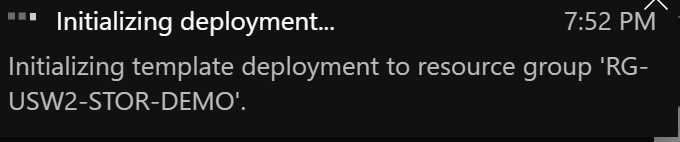
You should notice that when Azure starts your deployment, you get directed back to a new breadcrumb location:

Note that we are now directly under the Storage Account. Where did the resource group go? Well, Azure moved us here so we can work with the storage object directly. Let’s take a quick look under the resource group again and see what’s there?
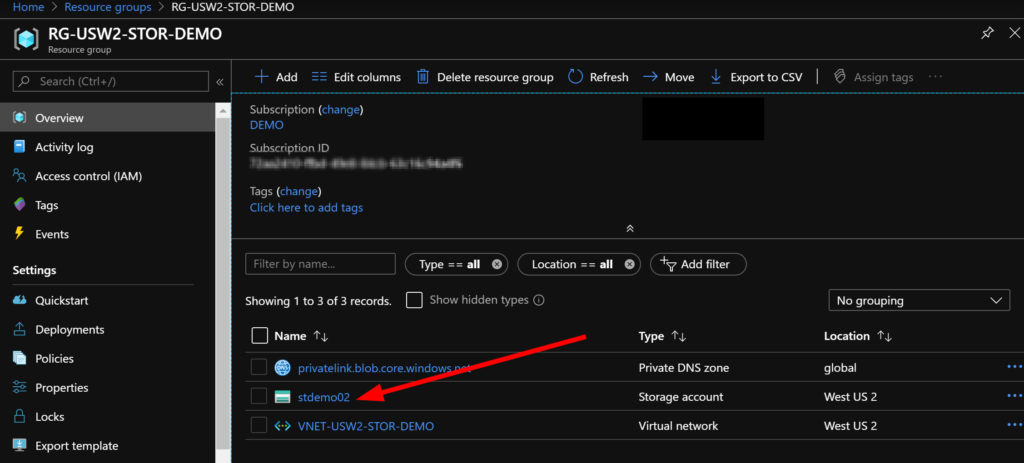
Excellent! You now have a StorageV2 type storage account in your Azure playground! Next time, we will take a look at adding some functionality into this storage account so that you can access data a couple different ways.