
Create an Azure Virtual Environment – Resource Group
If you’re reading about Azure and you’ve already done some reading, maybe used some free Microsoft training resources and you are curious about learning more; you’re in the right place! Today, we will cover some of the first steps as you begin your Azure journey. It’s a great day to get started with some hands-on learning so let’s begin by logging into Azure and creating a resource group. The resource group is intended to hold – well – resources that are grouped together and have the same life cycle. We’ll get into those details shortly, but first let’s set aside about 20 to 30 minutes for this. Let’s get started!
Today’s article talks about how to build out an Azure virtual environment to do learning and testing with. If you already have a subscription that’s awesome! You can get the first 30 days for free with a Microsoft Azure trial account right here.
Open your favourite browser (Edge Chromium has the advantage right now for me with profiles!) and point yourself to https://portal.azure.com
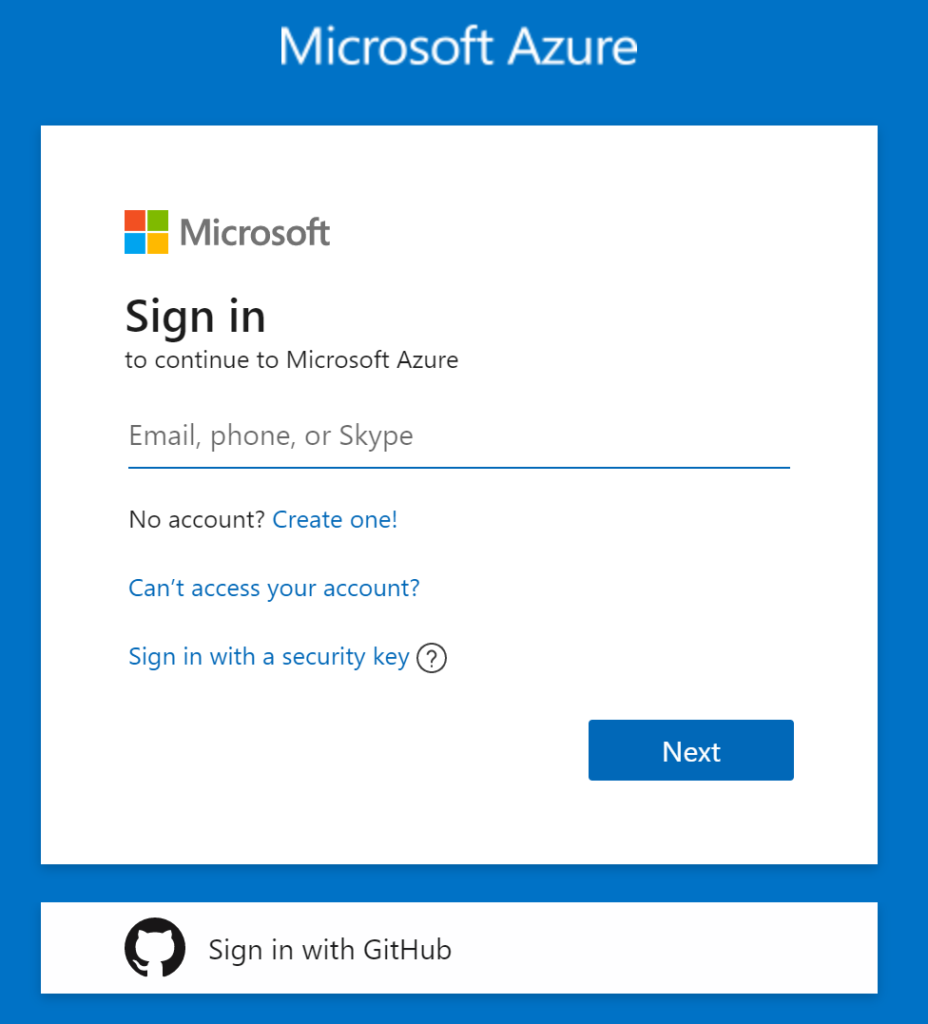
You should enter your account that you either used to create your free Azure account, or your existing email address associated to your Azure subscription. Click on Next. Then enter your password and click on Sign-In:
Hopefully you already setup two factor using a Free App like Microsoft Authenticator. If not, search your mobile store and get it! It’s fine, I’ll wait while you get it…
Ok, let’s finish by accepting your two factor prompt:


Ok, now you should see the Home screen of the Azure Portal. You’re all logged in and ready to go! We will need to create a ‘container’ to keep all of your resources in for both security and management, so we will use a Resource Group. Let’s move right into it:
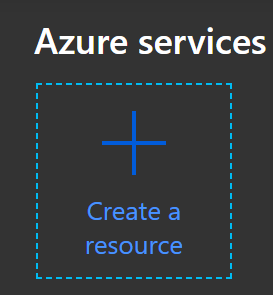
At the top of you Home page in the Azure portal you will see ‘Create a Resource’, let’s click on that.
Next type into the Search box ‘resource group’ and you’ll see some results right away:
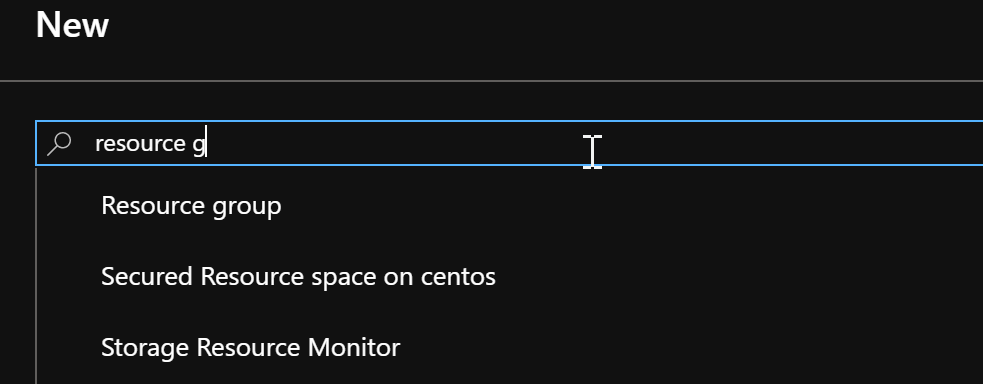
Click on Resource Group.
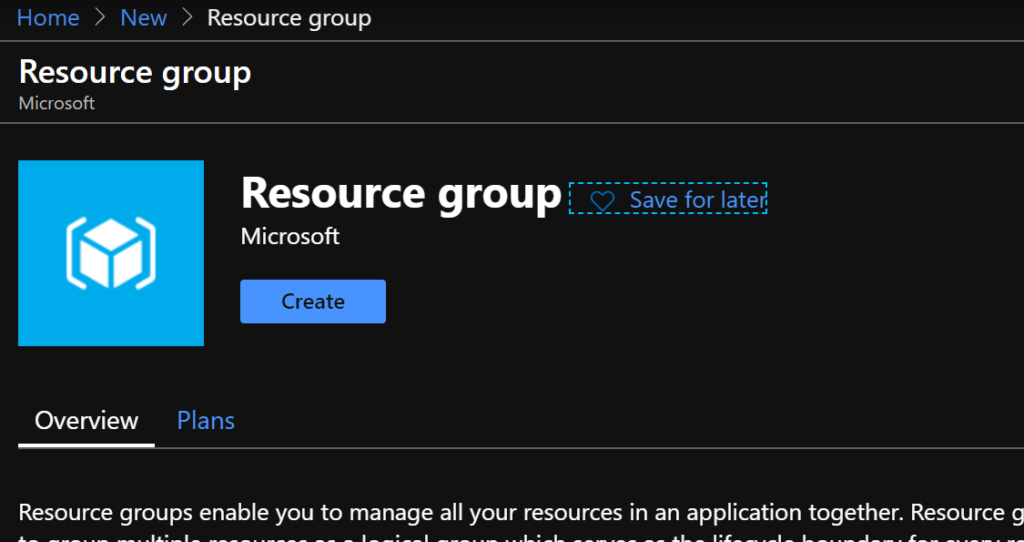
Note the Overview and Plans tabs below. There is no cost associated to a Resource Group, so we don’t need to worry about that for today! Free things are great right! When you’re ready click on Create.
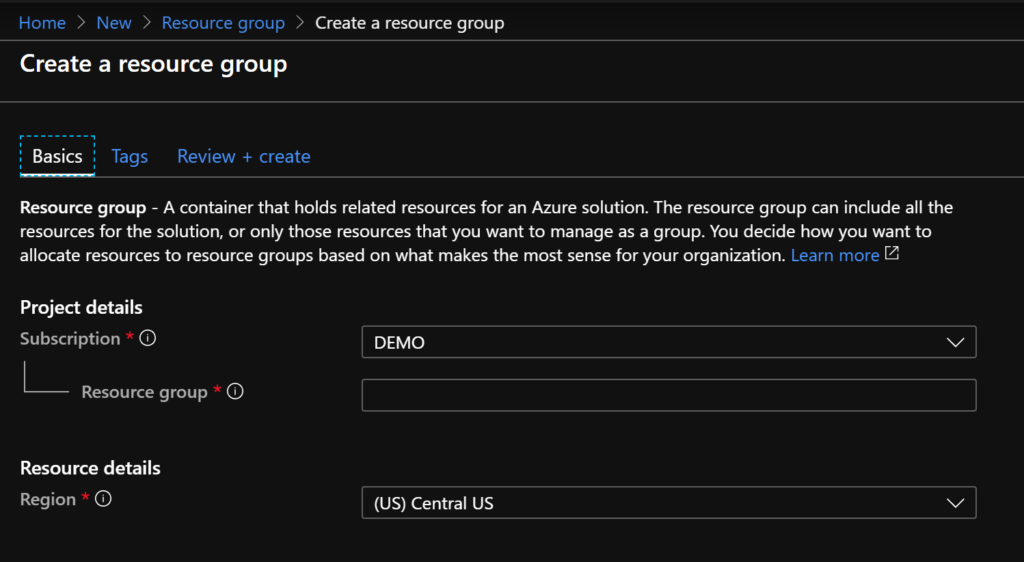
We have a few things to choose here now. First we need to choose a Subscription so select the appropriate one for you: a free trial or dev is usually the right choice for learning. Next we need to enter a name. I will refer you back to my previous article about Naming Conventions if you are looking for details, today we’ll just name it “RG-CUS-TESTAPP01”. Click on Review + Create.

You should see ‘Validation Passed’ near the top as shown above. You can now click on Create. Next you’ll see the status notification pop up on the right side:
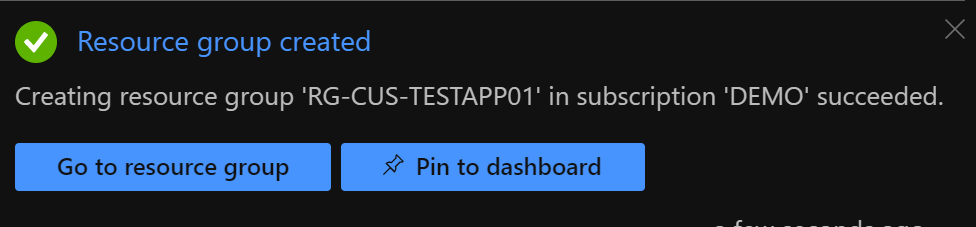
You can click on Go to Resource Group and let’s visit the group you just created!

You’ll see your new Resource Group right here and notice that there are ‘No Deployments’ inside here yet…let’s change that in the next article and we’ll begin deploying resources to build out your environment! Great job and stay tuned for the next steps. We will build on this in the next write-up!