
How to Deploy Azure Virtual Machines – Part 3 – PowerShell in Cloud Shell
Today we continue our deployment of Microsoft Azure virtual machines. There are many ways to do this – some manual – and some that support automation; we’ll continue our look at the options. Still a great way to get started with your Azure Infrastructure deployments is right in the Azure Portal, let’s take a look at PowerShell inside Cloud Shell for creating VM infrastructure.
If you missed the start of this series, check out my first post on Azure VMs right here.
The next way I’ll show you to deploy a VM in Azure is also via the Portal so let’s head to https://portal.azure.com and get started.
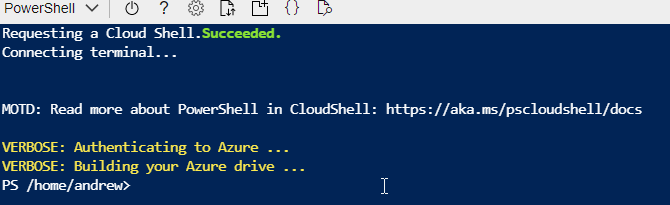
Let’s open Cloud Shell next – if you read my other articles you’ll know I have a little thing with PowerShell and CLI because it’s just so efficient! Open Cloud Shell in your dev/test or testing Azure subscription and let’s get started.

Now let’s use some PowerShell to create our virtual machine today! This one excites me just like using CLI because we can use scripting to automate things…such as putting our code into an Azure Function other ways of executing in the cloud such as Runbooks.
Ok, let’s check out the PowerShell to use in Azure Cloud Shell for this sample:
New-AzVm -ResourceGroupName "rgVMCreationGames" -Name "vmgames3" -Location "Canada Central" -VirtualNetworkName "rgVMCreationGames-vnet" -SubnetName "default" -PublicIpAddressName "myPublicIpAddress3" -OpenPorts 3389
Notice that we are building on the last lesson by adding some additional parameters such as location, virtualnetworkname, subnetname, and we assigned the name ‘myPublicIpAddress3’ to our public IP Address this time – I used the 3 in there to match the configuration along with our vm. We also specified to open a couple of ports: 3389 for web and RDP.

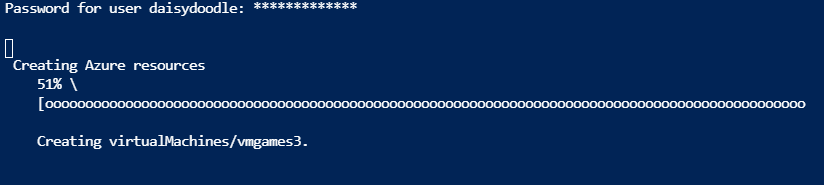
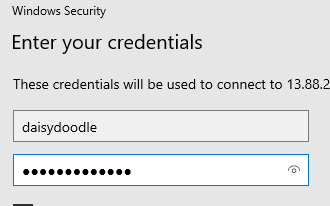
Enter your username and password, noting it for later to connect. Wait a few moments and poof! You’ve got yourself a Windows Server 2019 virtual machine configured and ready to connect to.
I think you’ll find it is actually quite quick to create vms this way. I like that we get the % counter and a little display of what is being provisioned as we go along.
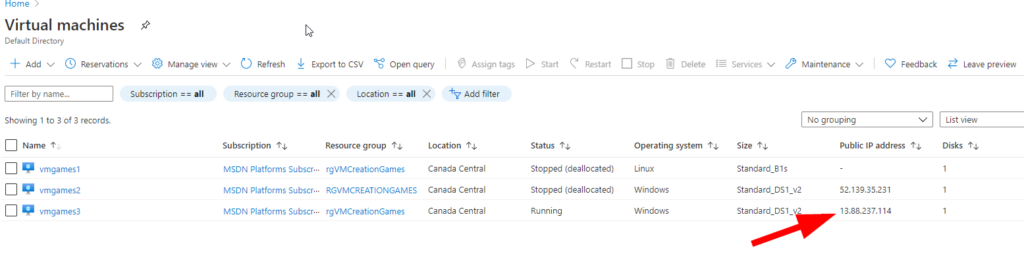
Alright. Now let’s connect, this time is again RDP on port 3389 so you can use your favourite tool or the very reliable Windows Remote Desktop in Windows 10. Head over to the virtual machine blade and grab the public IP address assigned to our new vmgames3 vm.
Or you can select vmgames3 name and find the Public IP Address inside the vm blade:
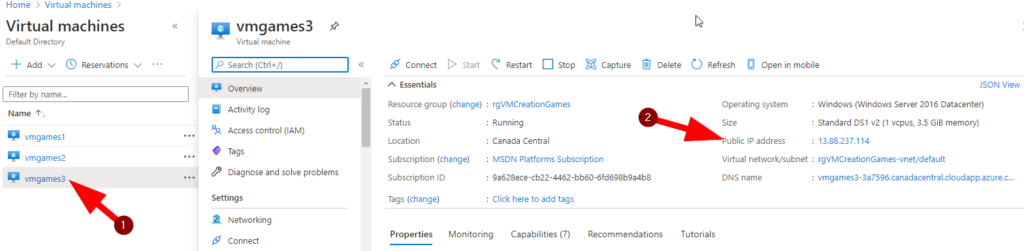
Since I am an absolute master of “side-missions”….take a note in the top-right at the JSON View. We’ll be talking about that next time!
Ok, now take that Public IP Address and let’s connect.
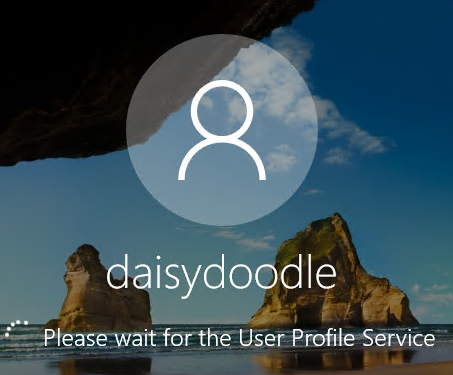
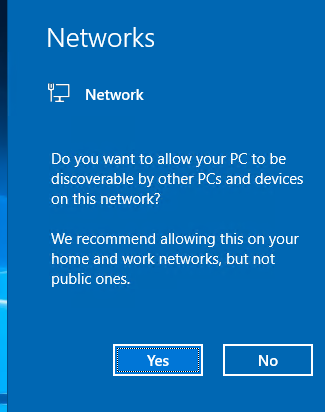
Alright, looks like we can connect ok. Same as last time, select YES for discoverability.
Now we’ll only briefly note that there are better ways to do administration vs a direct RDP connection, so check out my other articles on such topics on AzureTracks.com — but this was our proof of concept — so we have success!
Congratulations on creating another virtual machine and using PowerShell to do it this time! Pretty easy now that it’s all laid out right? Exactly.
Remember to shut down & de-allocate your servers when you’re done. You can shut down Windows Servers no problem by now, but let’s look at how to de-allocate.
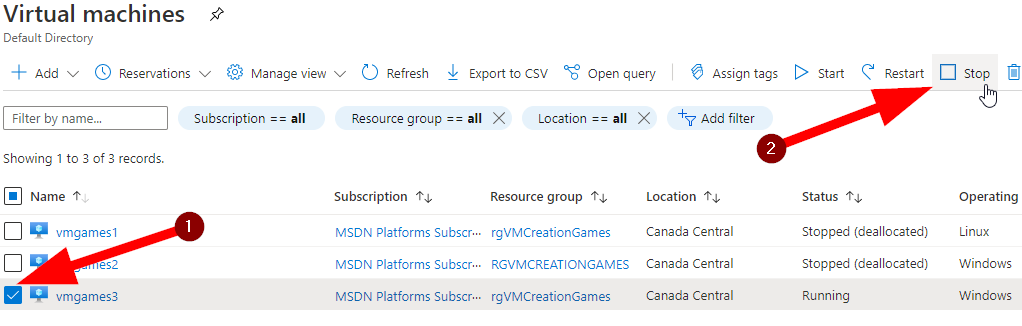
One of these servers is costing us money:

The other ones are shut off fully and de-allocated. You can do this by selecting the server then click on Stop up in the top menu bar on the virtual machines blade.
Select YES when prompted. This is the confirmation that asks if you are really really sure….since we do this in a testing subscription the risk is lower but that little prompt should raise your blood pressure slightly! Be cautious always.
Thanks for joining me right to the end in this article! Next time we’ll take a look at different way all-together of creating virtual machines in Azure – ARM Templates.