
How to Deploy Azure Virtual Machines – Part 2 – CLI in Cloud Shell
Today we continue our deployment of Microsoft Azure virtual machines. There are many ways to do this – some manual – and some that support automation; we’ll continue our look at the options. Last article we created a resource group and Ubuntu vm using Azure Marketplace graphically. Still a great way to get started with your Azure Infrastructure deployments is right in the Azure Portal, let’s take a look at CLI for creating VM infrastructure.
If you missed the start of this series, check out my first post on Azure VMs right here.
The next way I’ll show you to deploy a VM in Azure is also via the Portal so let’s head to https://portal.azure.com and get started.
Let’s open Cloud Shell next – if you read my other articles you’ll know I have a little thing with PowerShell and CLI because it’s just so efficient! Open Cloud Shell in your dev/test or testing Azure subscription and let’s get started.

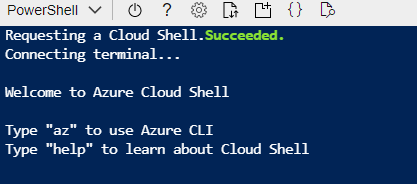
Cool beans! Let’s get right into it.
Last time we created our resource group called rgVMCreationGames in Canada Central region using Ubuntu. Let’s mix it up a bit this time and use a Windows Server 2019 image.
Use the following CLI command to create a 2019 virtual machine in our resource group with the name ‘vmgames2’ and
az vm create --resource-group rgVMCreationGames --name vmgames2 --image win2019datacenter --admin-username catspyjamas

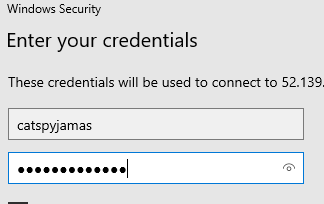
Enter your admin password…

Now while Azure processes this request to create a server for us, you can enjoy a glass of water or check your email briefly. I find it takes forever when you watch it, but if you look away for a second it will be done before you’re ready for it.
Ok, now we didn’t configure a whole lot here in our CLI command, but let’s try and test it out to see what we have here.
Hop back into the virtual machines blade in Azure Portal and select your new virtual machine called vmgames2.
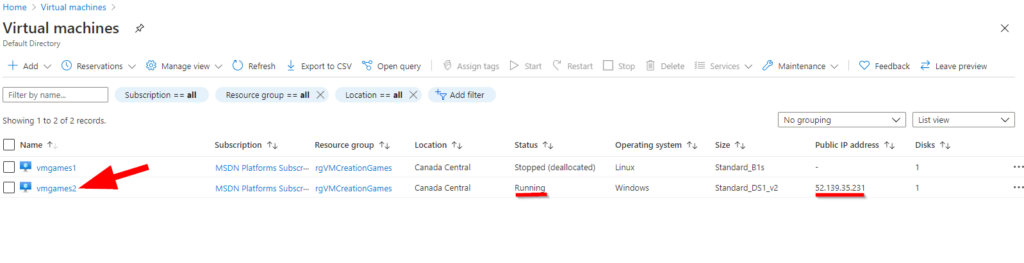
Now you’ll notice that our previously created vm is powered down. That’s because I like to shut down resources when not in use – it’s a good practice to automate this whenever you can. I do have some other articles that talk about this so go ahead and check out the automation category here on AzureTracks.com if you’re interested.
Go ahead and select the vmgames2 virtual machine we created just now.
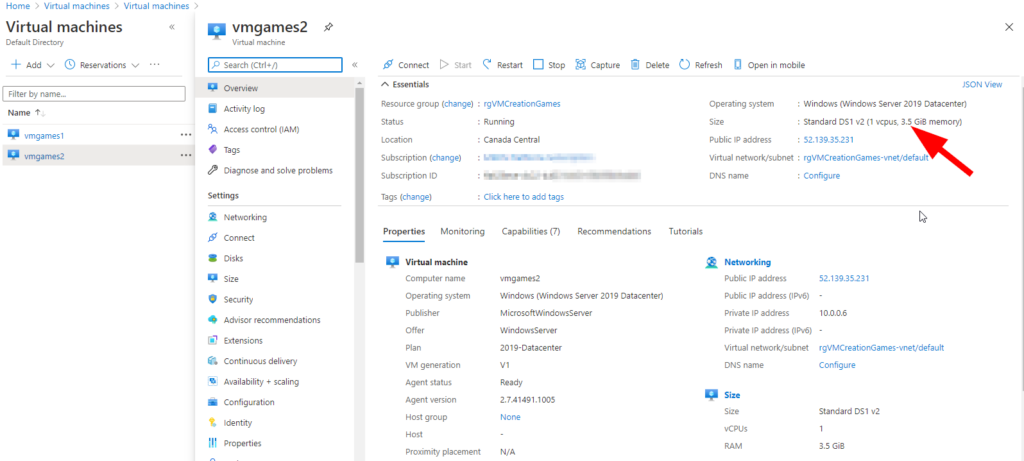
On the machine details blade you’ll notice that a machine size of DS1 v2 was automatically selected for us, along with our resource group’s default network rgVMCreationGames-vnet. Sort of nice that these things are just taken care of – but be aware that if you create resources in production we should use fully defined statements to explicitly state what options to use….or maybe there’s another way? We’ll cover something to help with this in another article so stay tuned.
Ok, let’s connect to this vm!
So, we have this time a Windows Server machine which means we’ll use RDP to connect on the public IP. Sort of dangerous for production so please don’t do this….only for testing and learning is this ok – plus we’ll power down the vm when we’re done for even better security.
Go ahead and copy the public IP address and use either Remote Desktop Connection in Windows 10 or whatever your favourite tool is for RDP connections.
I find it takes about 10 seconds to get to the desktop with this size of vm. Select YES to network discovery and check it out — we’re in!
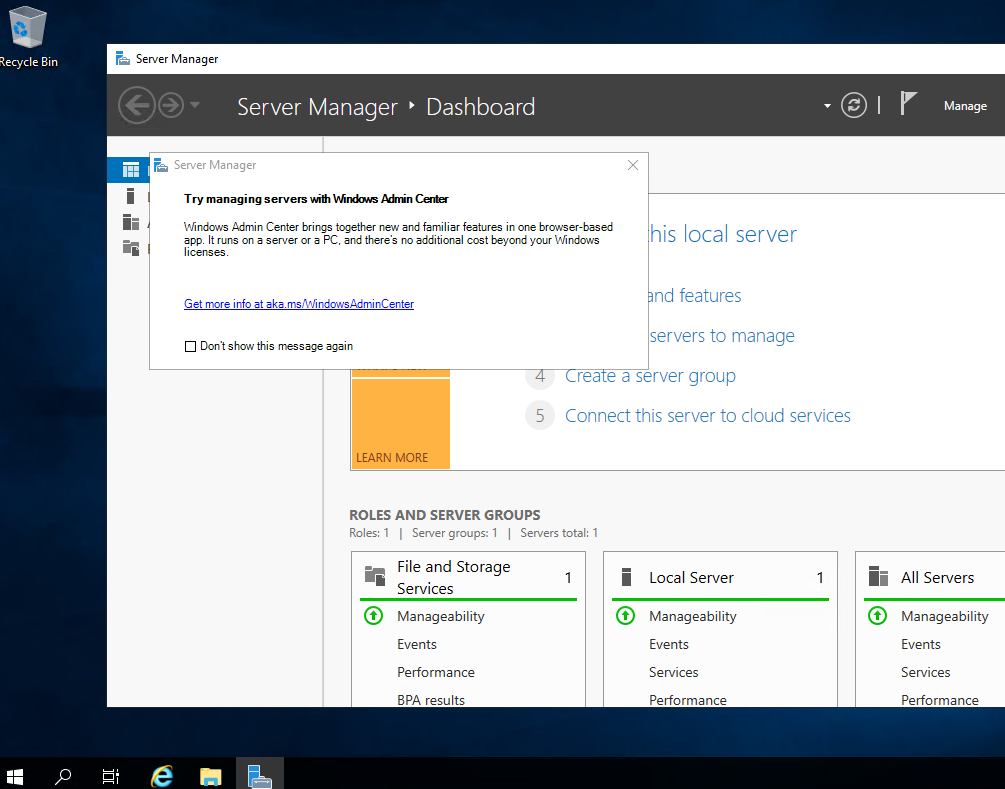
Awesome job everyone! You’ve deployed 2 servers now, one Ubuntu and one Windows Server 2019 — and connected to both of them in Azure through remote consoles.
Now, we should talk briefly about Windows Admin Center. Note the small message box on our Server Manager Dashboard that lets us know we are a bit behind the times….check out the Microsoft Docs Windows Admin Center documentation here.
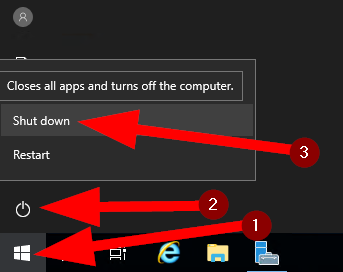
Make sure when you are done in your server that you shut down the same way we did last time. Select Start > Power > Shut Down > Other / Continue.
Today we deployed a full Windows Server 2019 virtual machine with a little one-liner in Azure Cloud Shell CLI. We learned about default values and how Azure fills in the blanks a bit for us when we don’t specify certain parameters.
Next article we’ll cover creating a virtual machine using another way still. Check back again soon and we’ll be ready for some more fun!