Create an Azure Virtual Environment – Add a Resource Lock
This is the second article in a short series. If you missed the first one to get everything started – go ahead and start here first. Remember that you can get the first 30 days for free with a Microsoft Azure trial account right here.
Last time, we created a resource group to hold some Azure resources in one spot for us. Today, let’s setup the protection for our resources that will prevent accidental deletion of our important resources! Let’s dive right in!
The reason we want to put a Lock on in the Resource Group is to protect against accidental delete operations or other changes to your resources. Imagine you have hundreds of servers or dozens of storage accounts with similar names. Now, without having to imagine too hard here – think about a busy typical day working when you have 5 things going on at once and the wrong box gets checked beside a storage account. That resource lock just saved your bacon! That’s enough chatter, let’s get to work.
Open your favourite browser (Edge Chromium has the advantage right now for me with profiles!) and point yourself to https://portal.azure.com. Go ahead and get logged into Azure now.
Once your on the Azure Home screen, you have some options to go where you want:
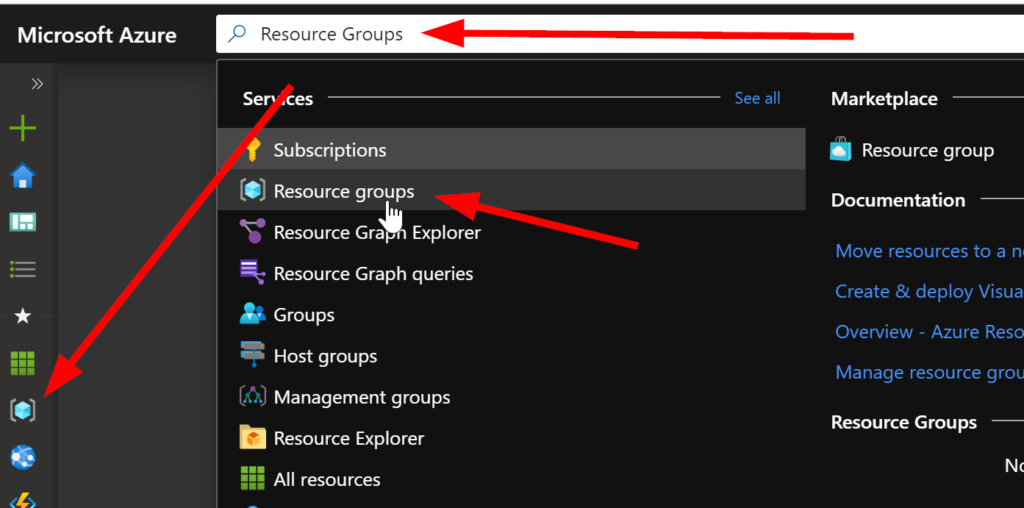
You can select the Resource Group Icon on the left navigation bar, select it on the Home screen if it is showing as a recently accessed blade shortcut, or type into the universal search bar near the top of the page.
Once in the Resource Groups blade, select the resource group that you created (or another one if you are learning in a test environment.
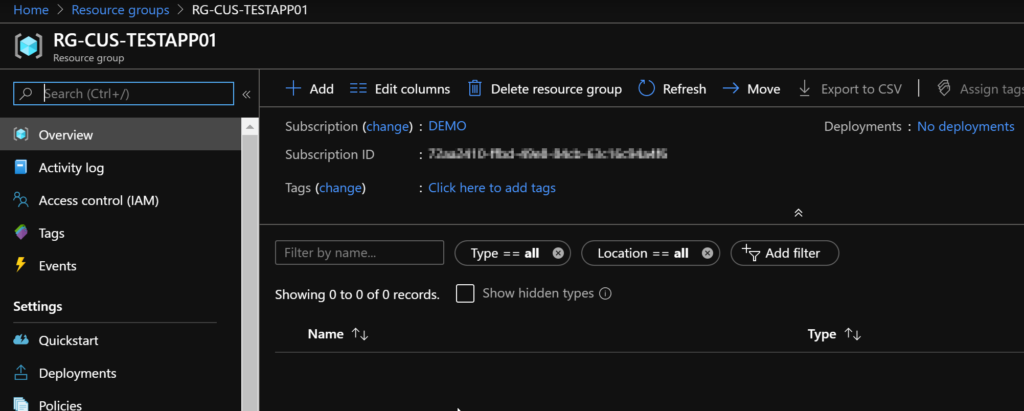
In the Resource Group we can see that there are no resources within it, and no deployments completed yet. Good news everybody! Let’s lock this down so our new resources will not be accidentally deleted.
Click on Locks
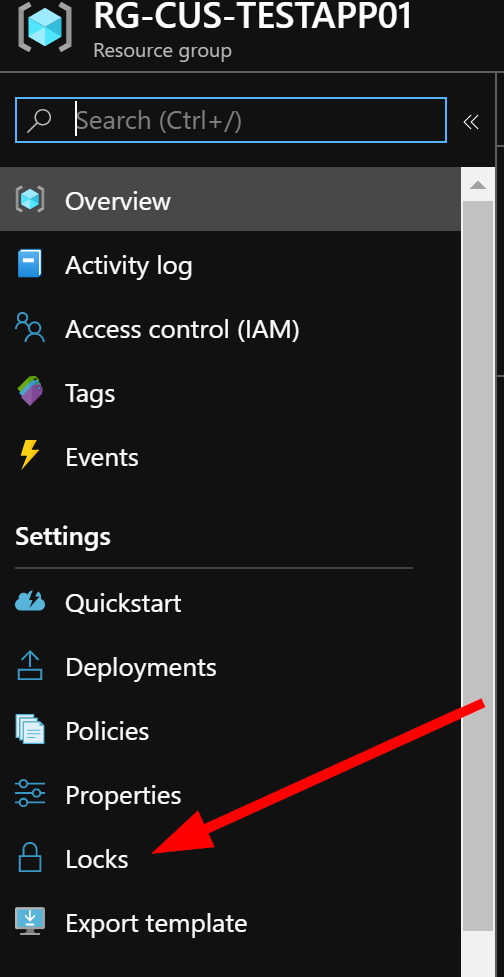
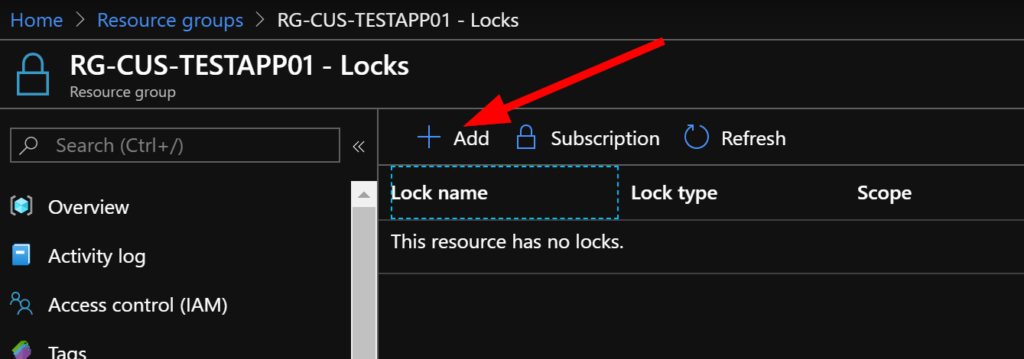
Select Add and now we can choose some options to setup the type of resource lock.
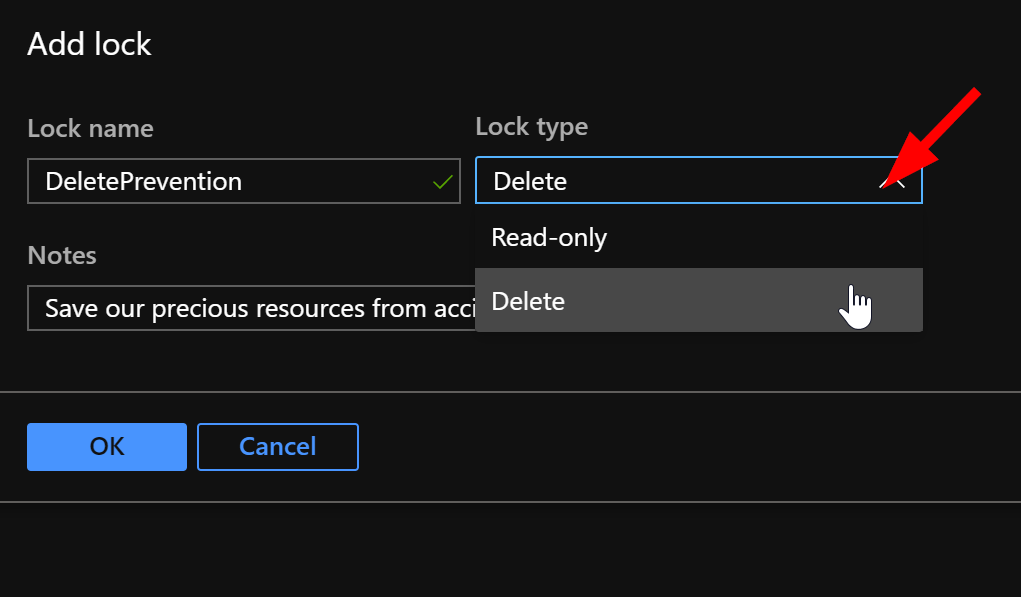
Enter a name for your lock, select Delete from the drop-down, and then enter a meaningful description.
Click on OK when you are ready and within a moment you will see your lock.

If you would like more technical information on Locks to protect your resources see the Microsoft article here.
In the next article, we will begin adding some storage so that we can build out a little testing environment.