Azure Storage – Keep Your Data inside Azure
Why would you want to keep data inside Azure? Don’t users need to get their files? Let’s talk about data security and data charges as part of our Azure design. When you create a file server, file share out of an Azure Storage Account, or otherwise allow users to access their data, it often can move through your Azure virtual networks through the Internet. Today, we will look at selecting build options to keep your data inside Azure on the Azure backbone, and as a result of that we will limit Internet access and decrease data egress.
First, let’s log into our Free Azure Account, or an existing Dev / Test environment. Next let’s go to a resource group or create a new one.
In my case, I’ll recycle a resource group in my Demo subscription:
Let’s create a storage account using all the available options to limit access to a single VNET and ensure we have no open Internet access to our data…all at once. Let’s begin. Click on Add and enter ‘storage account’.
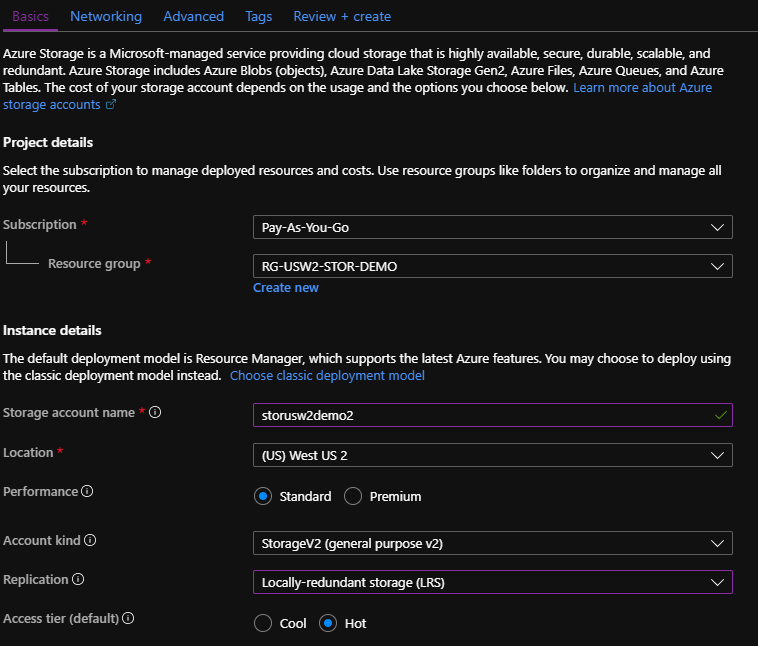
Select the resource group if needed, enter a storage account name, choose the same location as your existing test virtual network (or don’t worry, you can create one in the next step), select StorageV2 as the account kind, and replication should be LRS to keep our costs low for testing. To learn more about storage options see this Microsoft Article.
Click on Next > Networking.
Select Private Endpoint and a new blade will open. Enter the details as needed:
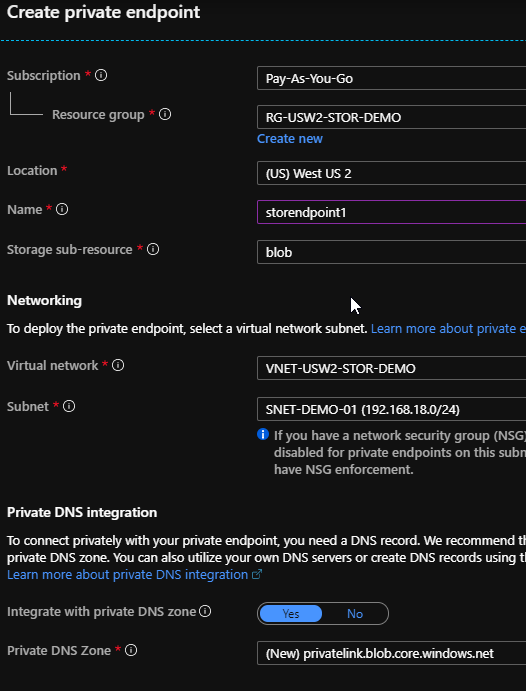
The existing resource group should be selected, keep the location the same as your storage account, enter a name, leave the storage sub-resource type as blob. The virtual network and subnet should already be populated so let’s leave those as-is, next choose Yes for Integrate with private DNS zone and you can leave the default for Private DNS zone for this demo.
Click Next > Advanced.
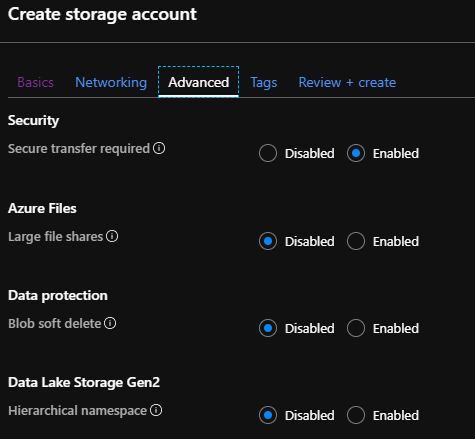
Here, you can select some important options: under Security ensure you have Enabled selected. This will force all communications in and out of the storage account to be HTTPS. If you have a large amount of data to store, select Enabled for Large File Shares and this will allow you to scale the account up to 100TB. For our purposes you can choose the options shown above and then select Next > Tags.
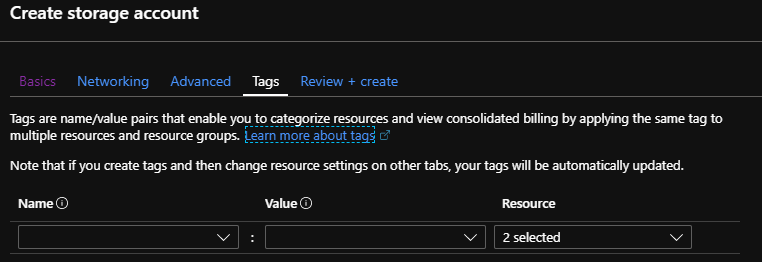
Under Tags, you can enter specific tags such as assisting in identifying billing options, data types, or other information that you need to note. Click on Review+Create and then Create if you are satisfied with the entered options:
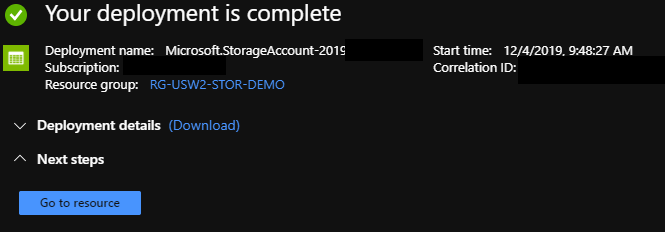
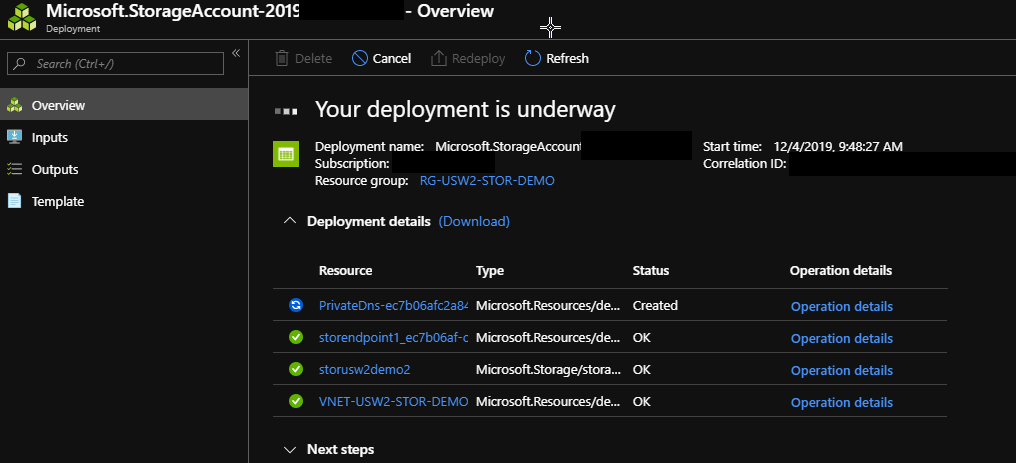
You have now created a storage account that will use private DNS and only be accessible internally on your selected virtual network. You also created a service endpoint on that VNET that will allow you to connect directly inside Azure using backbone speeds. Congratulations!
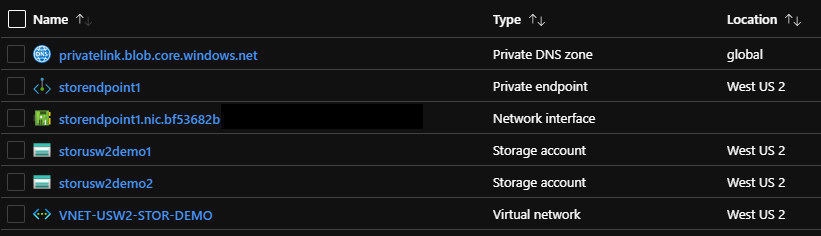
Our Demo Resource group should look something like this now:
If there are no resources that you use or love, go ahead and delete the whole resource group to clean things up and stop any billing costs in your Azure subscription.