Azure Storage – Create a Storage Account
Let’s take a look at how to create a storage account in Azure that you can use for storing your files. This will be the first in a series of articles that will show you how to create, secure, and then optimize usage on the Azure internal backbone for your storage account data.
First, let’s start by making sure you’re logged into your Azure Dev / Test or your free Azure subscription. Next you will need a dedicated resource group to make life easy for cleanup at the end. Let’s begin!
We will create a few resources first to support our storage account creation.
- Resource Group
- Virtual Network
- Finally a storage account
From your Home or Dashboard, click on Resource Groups or search for Resource Groups and open it. Next, click on New and create your resource group:

Click on Review+Create and confirm your details are correct, then click on Create. You will see the toast notification telling you the resource is creating and created:

Let’s go to the Resource Group so that we can add something in there. Let’s add a virtual network so that we have a space to do some work inside Azure!

Inside your resource group, click on Add. Type in ‘virtual network’ and select Virtual Network from the drop-down results:

You will see the Virtual Network blade now:

Let’s click on Create and make our virtual network!

Complete the virtual network create blade as shown, selecting a network that is not already in use and for steps we’ll cover next article, pay attention to Service Endpoints. Today, let’s leave it disabled. Click on create when ready.

Ok, now go back to your resource group and enjoy your newly created virtual network!

Once you take a moment to enjoy your success, let’s add another resource. This time type in storage account and select storage account from the drop down results.

Ok, here’s where we should consider cost options. Microsoft advises us that a type of ‘Storage V2 General Purpose’ should be able to handle most types of storage needs for most situations. Go have a read of the account types here to fully understand all the details. Some options are less or more expensive and have different features and speeds. We will use ‘Storage V2’ for our demo purposes as it’s cheap and responsive for our needs.
Because we started our storage account creation from within a resource group, we should not need to select, but do choose your demo RG and then enter a globally unique name for your storage account….yes globally. We have to enter a unique name that nobody else has used. Enter the name in all lowercase letters with no dashes or spaces. Under Location, ensure that you choose the same location as your VNET so that we can do some work with this next article! Choose LRS for redundancy as this locally redundant option is the cheapest and all we need for our demo purposes:

Click on Review+Create and the Create your storage account!
You will see the validation take a moment, then your storage account will be creating:


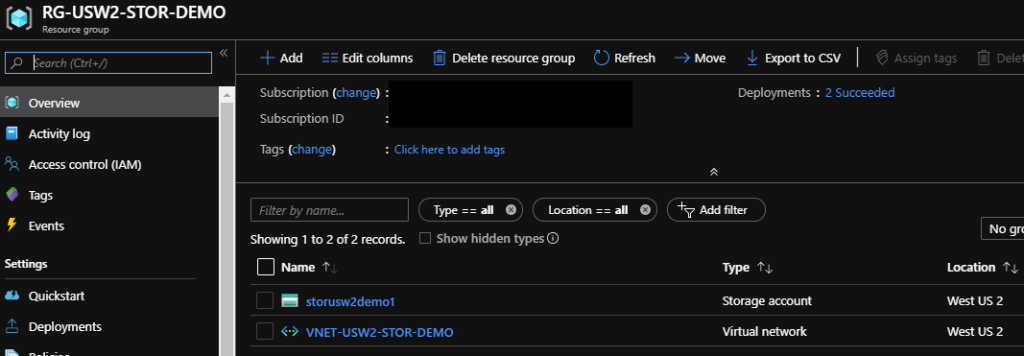
After a few minutes, refresh your resource group and you will see your VNET and storage account ready to use! Congratulations!
In my next article, I’ll walk you through restricting access and ensuring that access to your storage account is more secure.