Evaluate Microsoft Defender for Endpoint – Part 2
In this second article from our mini-series on setting up a Microsoft Defender for Endpoint labs environment we will be getting things running this week with some exciting features, functions, and looking at what we can accomplish all for free! Let’s dive right in and start with where we left off — creating the labs environment.
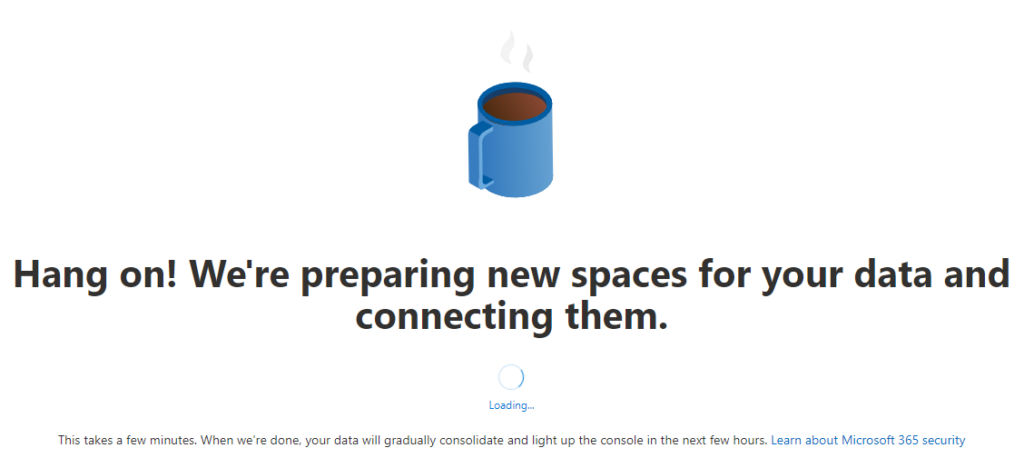
So, if you’re at all like me, you create the demo or lab environment and then stare at this thing for a few minutes before realizing you could have actually gone and made a hot coffee…..

So, it’s likely been a couple of days since we last talked together….in case we all need a reminder, point your browser to the Microsoft 365 Security Dashboard here: https://security.microsoft.com/
Do yourself a big favour and wait for that coffee cup to finish brewing….or about 30 minutes after you sign up for the demo labs. Once you feel like it’s been too long….go ahead and browse to the Microsoft Defender for Endpoint Evaluation lab:

Go ahead and click on the Setup Lab button:

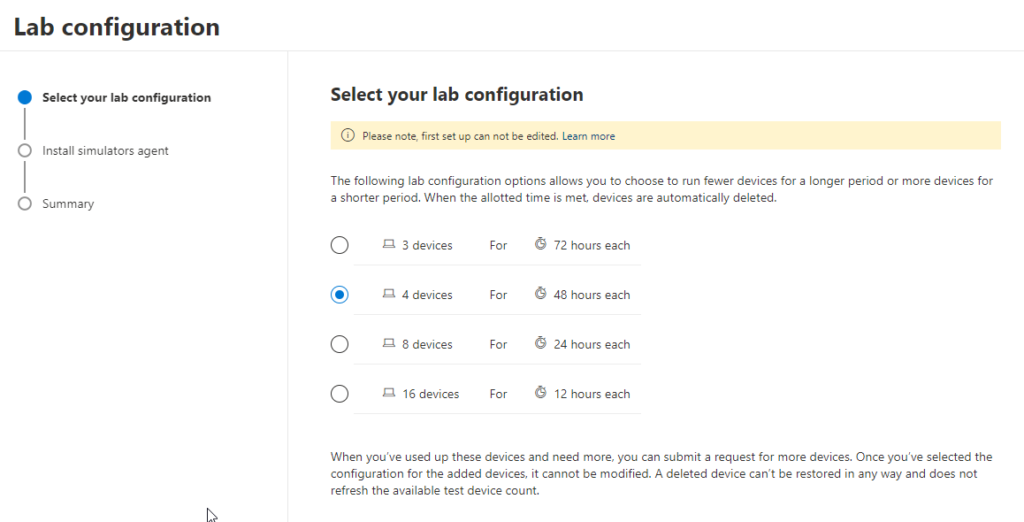
Now let’s choose how many devices we want to provision and test in our lab. Don’t be greedy here! You will need to use them and the more devices you select, the less time to work inside the lab you get! I’m a big fan of the 48hour option for 4 devices — this is a good medium choice with enough devices to simulate and test compromises against without requiring an extra 2 arms to get it all done.

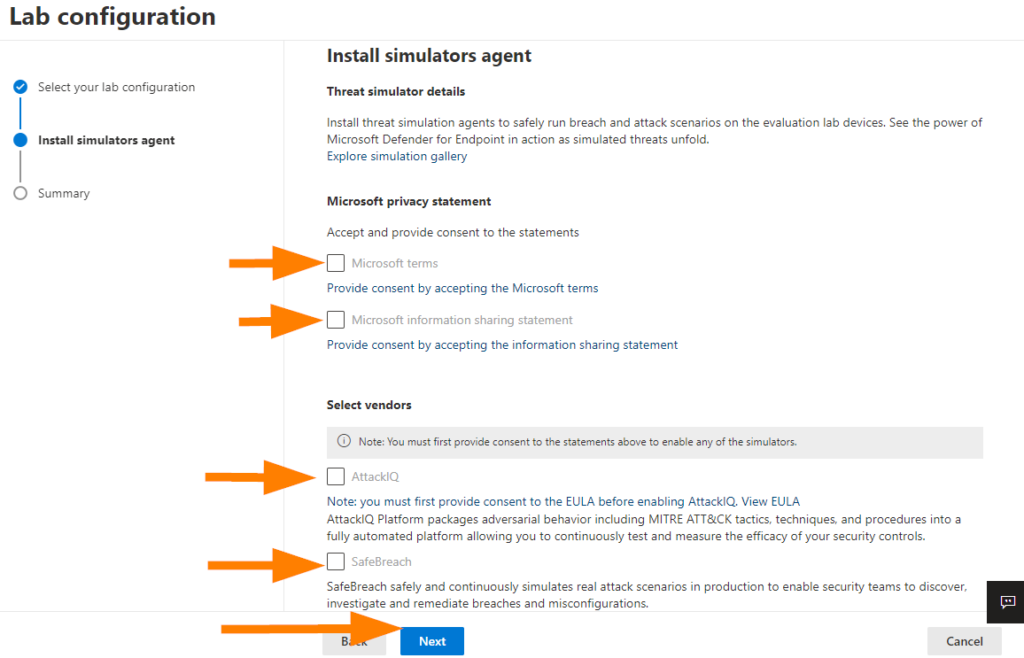
Next up, let’s select some options for our labs deployment:

Little trick to the part at the top where you have to agree to all the terms and conditions > Select the link underneath the check box, read and understand the terms of course, then click I Agree if you do, and then we can continue.

Fill out the rest of the form including email address and name and select Next when you are ready.

At the bottom, select SETUP LAB when you are ready to deploy!
Congratulations! You just deployed a bunch of endpoints into your environment to do some testing with using the attack simulators and evaluations. Awesome stuff!
Cool — so now what? Next article we’ll pick back up and complete the next steps so you can do some further testing!