
Domain Join a Windows Server
Why join a server to your Windows Server Active Directory domain? You would do this to unify service accounts, apply Group Policies, and unify your administrative accounts and management. There are still many organizations that debate the security advantages and disadvantages of domain memberships, but today we are here to join a server to an existing domain on your network. We will join the server to the domain, then promote the server to an Active Directory Domain Controller. This is a well-documented procedure these days, but something that I’ve run into at several client sites, so let’s talk about what we need as a starting point today.
Prerequisites:
- An existing Windows Server Active Directory Services domain (yourdomain.local for example)
- You will need another server that is not joined to your domain yet (that’s why we’re here!)
- You will need credentials to log into the stand-alone server
- You will also need credentials that are elevated inside your AD DS domain (Domain Admin for simplicity in this article)
- Since I know you’re doing this in your Azure tenant, let’s make sure we are in your Dev / Test subscription or your Free Azure Trial subscription.
- On your Azure virtual network, ensure we have servers that are on the same VNET or if you are using a more segregated setup that your VNETs have peering and your firewalls allow the ports I’ll talk about below.
- You must have DNS
I want to emphasize that you should do this in a testing environment and not your production network if this is your first time.
Anytime I’m doing Active Directory work, I always start by confirming that all my required Active Directory ports are opened. Now, this project has some tighter security requirements so we will be excluding the high range ports. AD will still work correctly, but it is not recommended or supported by Microsoft, and your logs will be full of errors on the range of ports from 49152 through 65536 on both TCP and UDP.
For success, we need to ensure that we can communicate for the following services: group policy, Kerberos, LDAP, SMB, and some RPC. Ports needed are: 53, 88, 135, 137, and 445.
It is important to note that ICMP packets need to be allowed for our testing in addition to TCP and UDP on these ports. Please check the Microsoft or SANS references for the exact port requirements.

I will not be talking about the PowerShell used for testing today, but there are lots of tools out there that anyone can use to perform these tasks.
Now that I’ve confirmed all the required ports are available, we can join our machine to the domain.
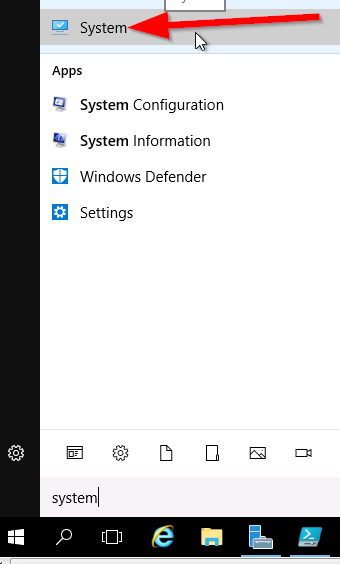
Click on Start and type ‘System’, then select System from the Start Menu. You can also get there by going to Control Panel > Show All Items > System.
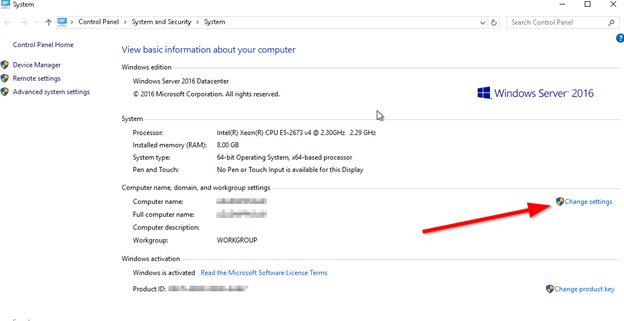
Now, on the Systems screen (applet) choose Change Settings
A new pop-up will display:
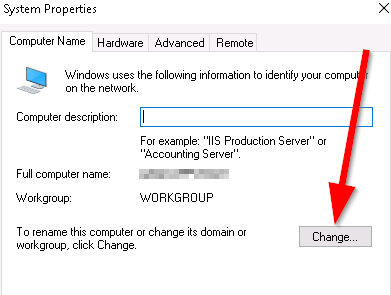
Click on Change. Another small pop-up will show:
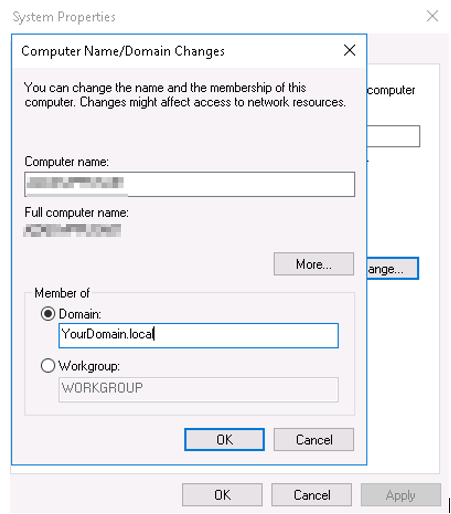
Select Domain, then Enter your domain name fully here. No shortcuts: YourDomain.local should be used. This will utilize DNS and talk to the existing domain controllers on your network.
You will now be prompted for a login credential.
This credential needs to be a Domain Administrator or Enterprise Administrator (or some specific rights that we could talk about for a long time, but today we’ll continue with the domain join operation).
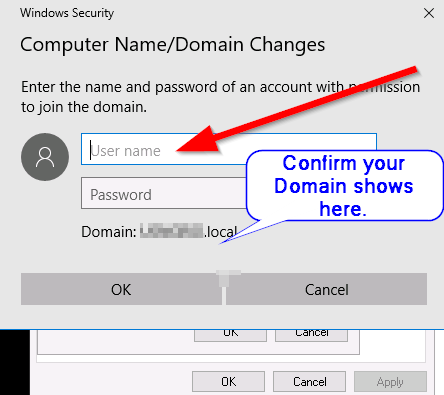
Enter the credentials and click on OK.
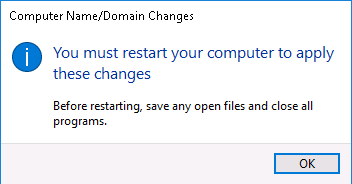
After some time, you’ll get a prompt:
Welcome to your domain! Great start!
Click on Ok, you will now get a reboot prompt. Let’s do that now so click on OK again.
Then click on CLOSE and another prompt will display, select RESTART NOW.
Go make a coffee or other favourite beverage.
Log back into your server, but this time you will need to use domain credentials since it is a member of your Windows Server Active Directory domain now. Now – a brief security discussion on local user accounts living on the server: yes, you can use local accounts on the server to log in, but why would you? Managing individual accounts on each server…let’s say you have 250 servers; that is a lot of work when the account could live just once inside the Windows Server Active Directory Domain and then be used to login to all members of the domain. I’ve seen a cross-over of this with clients before, and if mandated by security policies at a parent company; there’s little you can do. If you have a choice, I urge you to consider using domain logins and security features. Centralized logging, login tracking, and other nicely centralized features are easier to track when using domain authentication. Look into it if you’re in this position and see what’s right for you and your business. Once you are all logged into your RDP session again, go to the System applet and view your properties:

You can also see the domain membership in Server Manager, or in command line. My go to is still “ipconfig /all” for seeing this information in a hurry.
Today, you learned how to domain join your stand-alone Windows Server 2016 vm into your existing Windows Server Active Directory Domain. A great way to start to the day! In the next article, we will take this same server and elevate it to a Domain Controller in our testing domain YourDomain.local. Exciting!