Move Azure Resources to a Different Region – Azure Resource Mover
Today we’ll take a look at how to use Azure Resource Mover to move a virtual machine with some supporting resources to a different region. Reasons to do this are to reduce cost of resources, move a VM to a region where other services it connects to are located, or because you need to have a resource located in specific region for compliance reasons. Either way, today, we move a VM from Europe to the USA in just a few minutes! You can’t even fly across the ocean that fast!
Ok, so first let’s get logged into the Azure portal at https://portal.azure.com and make sure to use your Demo or Testing subscription. If you don’t have an Azure tenant — you can get a free….that’s right…free tenant! Just follow the setup steps and create yourself a place to do all this cool learning and testing.
This will be Part 1 of 2 articles to complete moving resources via Azure Resource Mover.
Assumptions:
First, this is a Public Preview feature at the time of writing this so of course this is intended only for non-production resources.
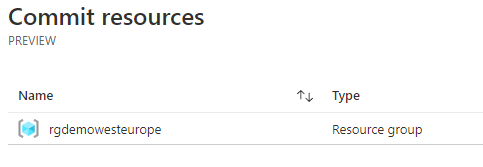
You will have a couple of resource groups in different regions. Mine look like this:

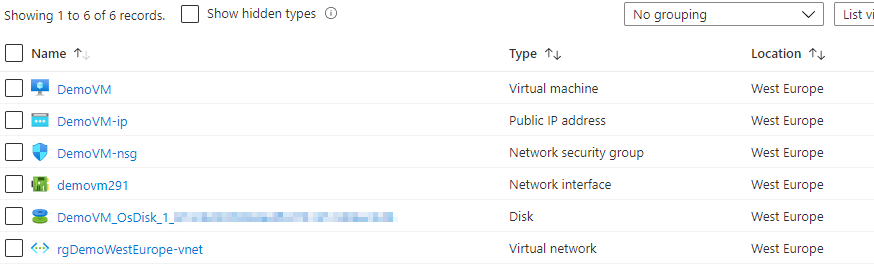
In my West Europe Resource Group I’ve created a VM and storage account. Now, you don’t have to house resources in the same region as a resource group, today we will because we want to show moving a resource across to a different region. The resources I want to focus on here are a VM with standard SSD disk storage. My West Europe resource group looks like this:
The East US Resource Group I have setup just has a few things in it that will operate better if we move this virtual machine to be closer to it in East US. In my testing case here it is actually a SQL database.
Let’s Get Started:
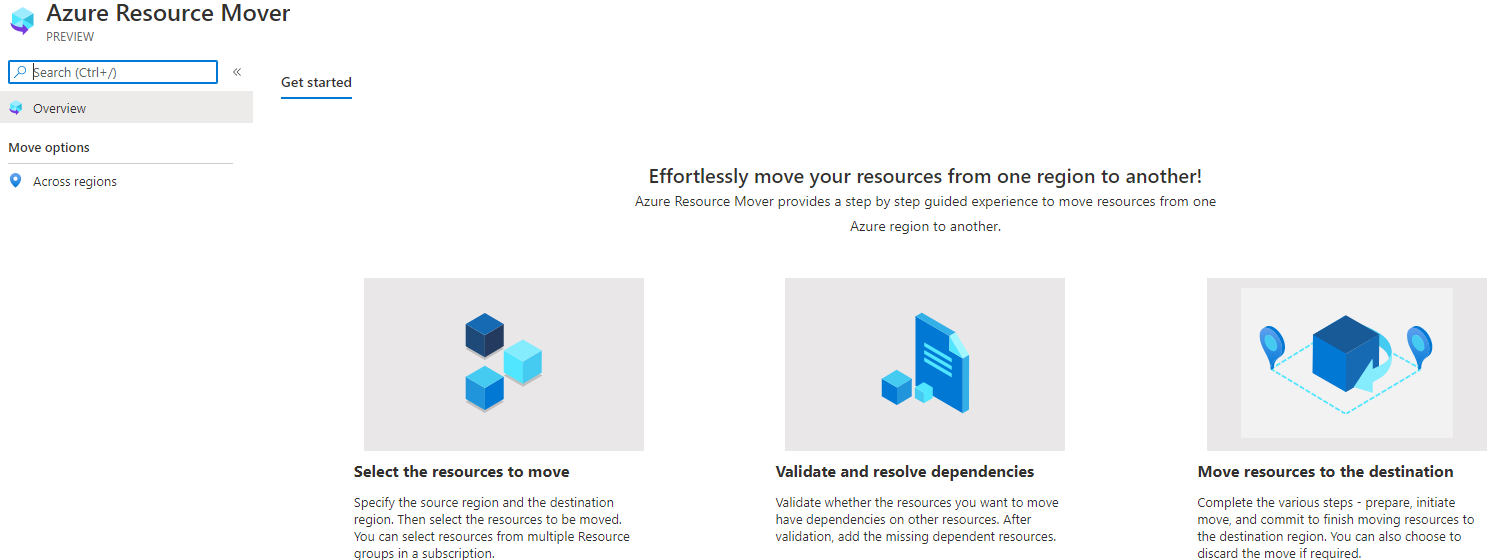
Once you’re all setup with some resources to move (Test subscription of course!), head to Azure Resource Mover.
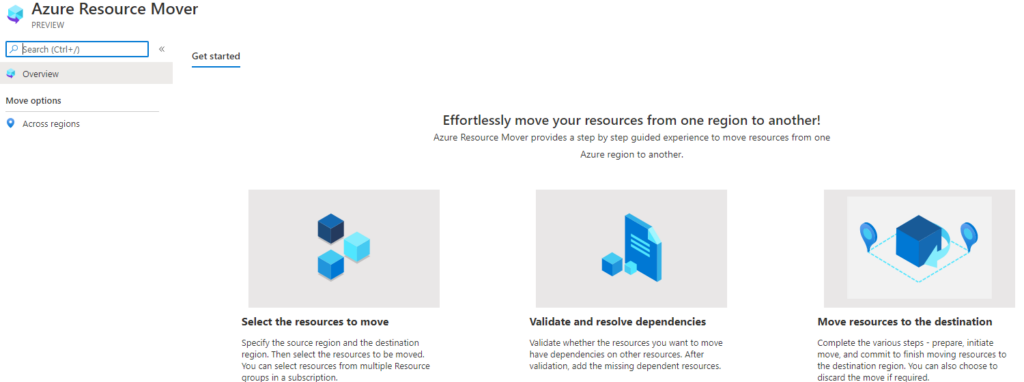
If you like, you can jump right to the Resource Mover here.
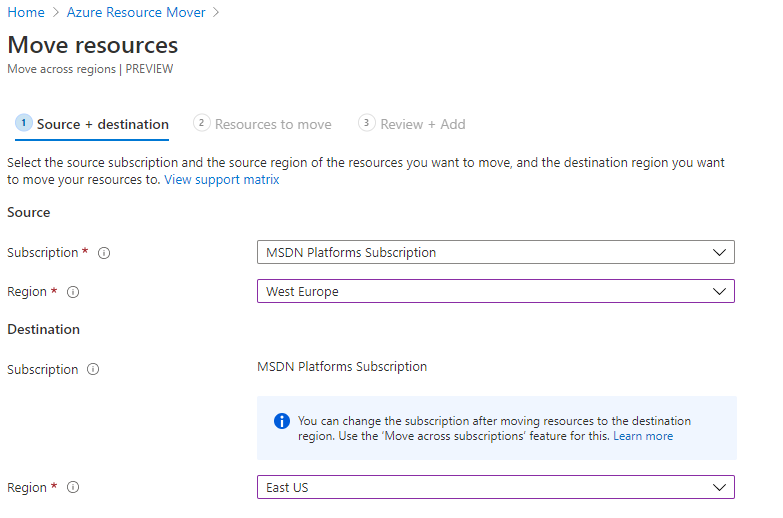
Ok, now things will move ahead quickly here as we go. Select Get Started. Then choose your source and destinations:
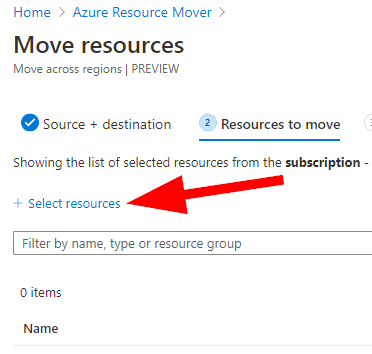
Now choose +Select Resources. The link is a bit hidden so here is me calling it out:
Next, we add some resources from our source location into our Resources to Move job:
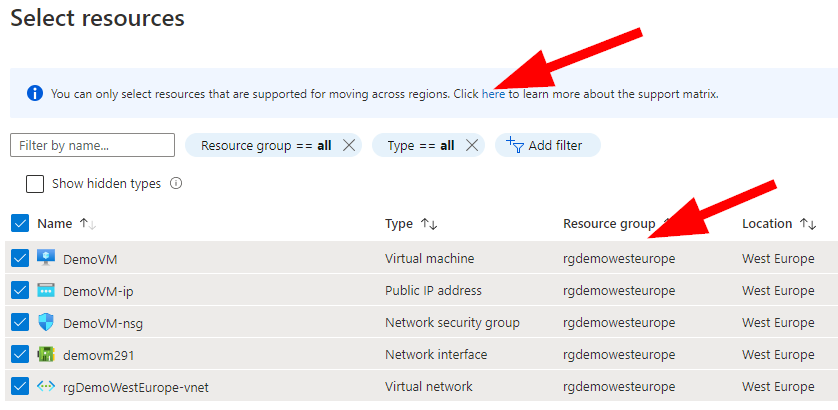
Now, you should understand what supported resources we can actually add. You can see a full list here. The list is pretty long as you would expect, but know that the resources we can see in our demo here are supported for the move such as virtual machine, disk, network interface, NSG, and PIP.
Ok, back to the task at hand.
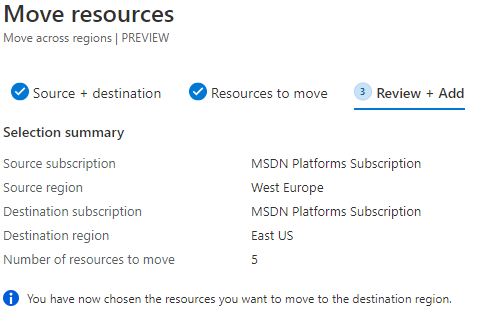
Select the resources to add to our move job and click on Done. Then select Next to advance to the Review + Add tab.
You will see the summary of your options listed such as below.
Now you will need to scroll down

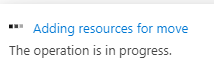
Click on Done and the job will be created.
….but wait there’s more! Keep going to see what actually happens to your move job.
Once the job is created and everything is added to your Resource Mover job, open the job and view the status. You will notice that nothing has actually moved yet!
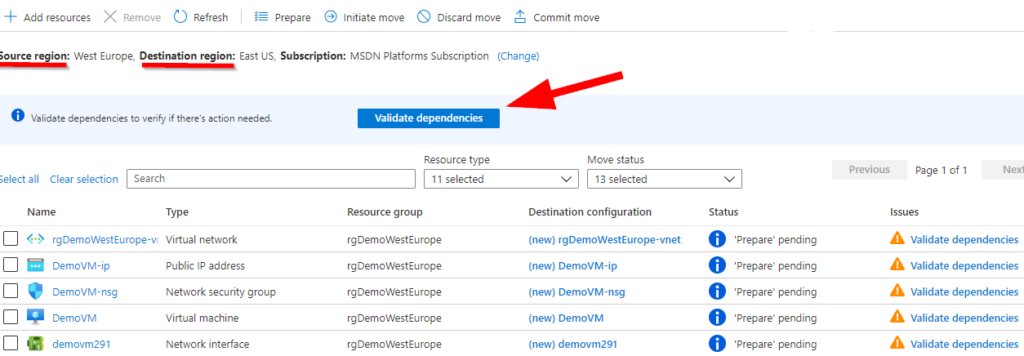
Some resources may need you to resolve the dependencies. This is important because this is where we define what moves with each resources that we’ve added into the job. Notice that my move job has ‘Validate Dependencies’ for all 5 of my resources.
Click on Add Dependencies. Add any actual resource dependencies that are needed to support the resources in your job. In my case it was the Resource Group for West Europe. I added that and clicked on Validate Dependencies again.

Once that is completed in your notifications, refresh your job summary screen. Notice that now we have no ‘Validate Dependencies’ listed with each item in our move job.

Now, I’d like to make a joke about having no issues; but I’ll steer clear 😉
Ok, back on track here…
Now we need to Prepare our resources for the move. There’s a little trick here that you should know about. You need to first move the resource group before the other resources.

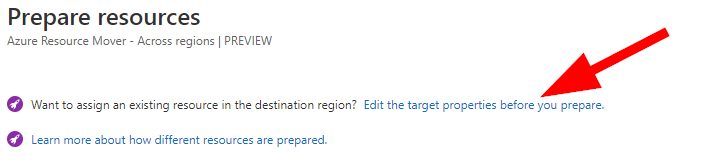
Next, there is a little link that can save us some headaches….take a look here to read about modifying target settings.
If you were to just select everything and Prepare the resources the job would fail. The correct steps are to first select your Resource Group, then click on Prepare. Once the operation completes refresh your Resource Mover job screen and you will note the change in status:
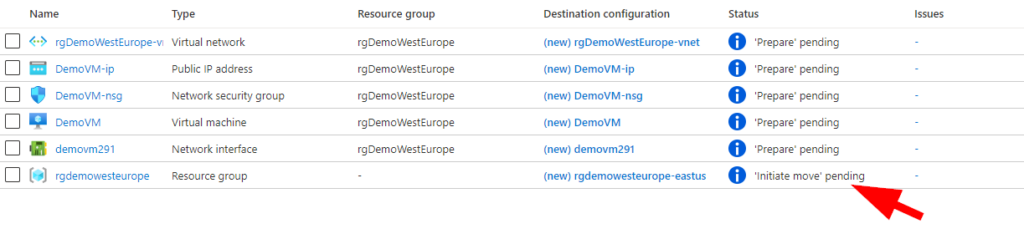
Notice how we have ‘Initiate Move Pending’ status now and still no errors! Wonderful! Let’s select the same Resource Group and now select Initiate Move. The next blade will load for the move job, select Initiate. After a moment it will refresh back to your Resource Mover job screen.
Our notifications will look like this:
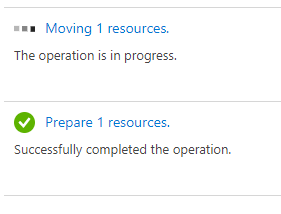
Now wait on that job to complete. Next we will select that Resource Group again and then we choose Commit Move.
Choose Commit and wait again. It will change the status to ‘Delete Source pending’ in the Resource Mover job screen when you refresh after completing.
Next, select the remaining other resources and click on Prepare. Here is what my notifications look like after doing this:
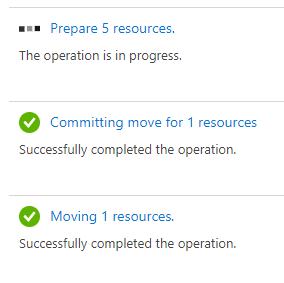

As you can see above, the status for my resources has change quite a bit in the Resource Mover job screen now. The virtual machine resource will take a few minutes to complete because in the background, the Azure Site Recovery Mobility agent is installed on VMs, to replicate them. As a fun fact, also created are ARM templates for the other resources. VM operations are not impacted by this extension that is added auto-magically.
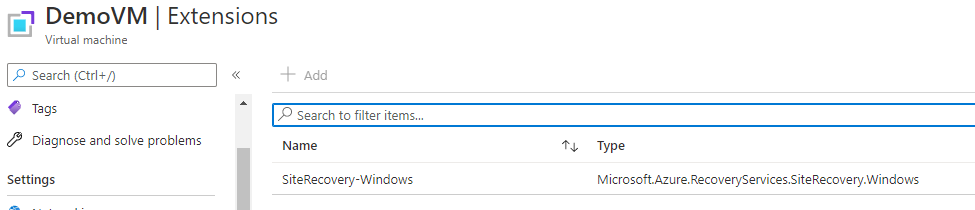
Next, that VM is actually replicated to the new region:

Let’s finish this up next week! Tune in for my next article where we complete these resource moves together.