Setting up for a Demo with Azure CLI
I’ve been asked a few times to share how I setup for doing a demo using different Azure resources. So, I’ll share my first way of setting up — Azure CLI. Today, we’ll walk through some of the steps I run and how to save it to do it all again next time. This is one of the ways that I get setup with storage accounts, Windows servers, Linux servers, and even App Gateways and Load Balancers…so buckle up for a little code run-through!
I contemplated making this as a video, but I’ve done a lot of video blogs lately so I thought I’d go back to my original text article format. If you want to see this as a video let me know on Twitter at @AzureTracks.
I’d love to see @AzureTracks demo build article as a video!
Tweet
Fair disclosure, Azure CLI is one of my favourite tools because I can do things quickly, scripted, and the results are repeatable. I can also do this anywhere…a great example was this summer when I was out doing some camping and had to build out a demo for the next day for a last-minute customer request. Cloud Shell to the rescue!
So, let’s hop over to https://portal.azure.com and log into our Test subscription. Now, let’s click on this little logo >>

If you don’t have a storage account already holding your profile, you’ll get a couple of prompts but it’s super easy to get started, just follow the prompts.
Now, you’ll see something like this:
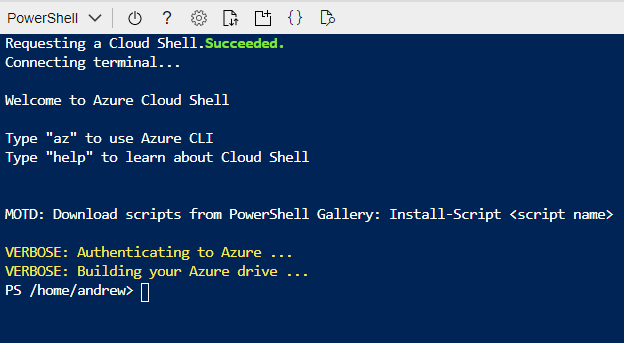
Something that is really cool is that there are a lot of tools and modules already loaded like CLI, PowerShell, etc. Check out the full list here.
We’ll be using CLI and we’ll be calling our commandlets using some really simple parameters today, so this is great for beginners and for more experienced users that are starting to think more about cloud automation and repeatable results…stay tuned for the repeatable parts later on.
Let’s have a bit of a think about our architecture before we just start making things. Ok, that was fun — seriously though — our design is super simple but there are times we should map these things out a bit. In this demo build-out we’ll be adding a resource group, network, then some storage and servers. Simples!
First we create a resource group:
az group create --name rgDemoBuild44 --location westus
Now let’s make a storage account to keep our demo data or files in for later:
az storage account create --resource-group rgDemoBuild44 --name storbuild44 --location westus --sku Standard_LRS --kind StorageV2
Finally, we’ll create a network to use for any custom IP addressing later:
az network vnet create --name vnetbuild44 --resource-group rgDemoBuild44 --subnet-name default
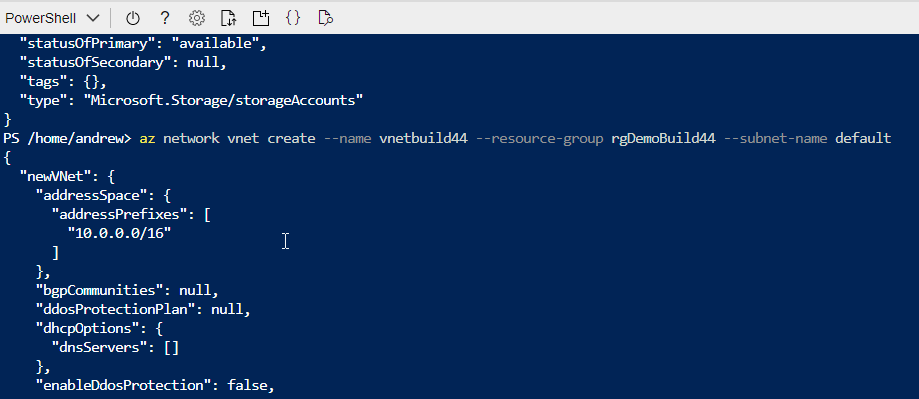
You should see something similar to the above screenshot. Lots of blue, white, and some yellow. If you see the red – don’t panic. The red is really just drawing your attention to things that need correcting. If you are doing the old copy/paste off my article but chose a different resource group name, that’s likely the issue 🙂
Alright, let’s add some servers now. Want to guess how you create a vm using CLI? Yup, you got it “az vm create”. Remember that you will be prompted for a secure password for a VM that needs it and SSH keys for servers that will use the key to connect. Let’s get to it!
az vm create --resource-group rgDemoBuild44 --name windemobuild44vm1 --image win2019datacenter --admin-username fakeusertest1
az vm create --resource-group rgDemoBuild44 --name windemobuild44vm2 --image win2019datacenter --admin-username fakeusertest2
Now you have 2 Windows Server 2019 servers up and running…well done!
Remember that we now have a storage account, vnet, and 2 servers running inside our resource group. Let’s keep going.
Let’s say we want to create a Debian Linux server to run a webserver or some other tasks for us in our planned demo environment. Let’s make one:
az vm create --resource-group rgDemoBuild44 --name ubuntudemobuild44vm3 --image Debian --generate-ssh-keys --no-wait
Awesome! It’s pretty cool that we can do the “no wait” flag with this commandlet and the SSH keys are automatically stored in the default key location if they don’t already exist. In my case I have SSH keys already generated so the commandlet will automatically store these to that same location. If you wanted to re-use a specific key you can use the flag “–ssh-key-value” option instead of the “–generate-ssh-keys”.
Now….go be happy and do things in your demo that you just built out!
Make it Re-Usable
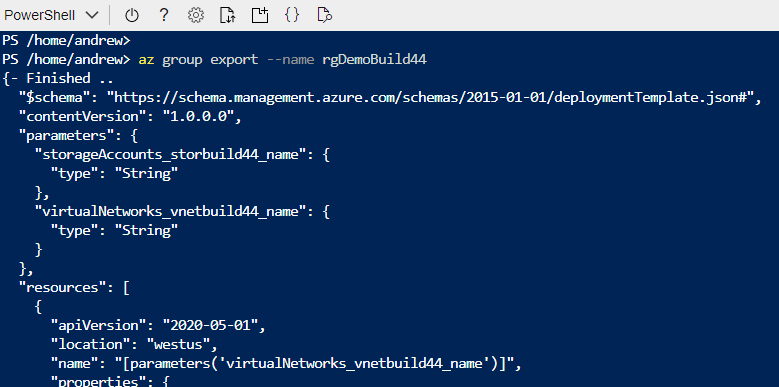
Now, there’s a cool thing we can do here and that is to export this resource group to a template to just create the resource group as a big grouping from a template next time…it’s a big time saver if you plan on doing testing then clearing everything out and re-deploying that testing set of objects such as VMs again.
We’ll just do a basic export here that shows us the JSON in the CLI environment:
az group export --name rgDemoBuild44
I did an export of this little setup and it was about 500 lines, so remember that you can deploy these results as an ARM Template — that will be another day….
Now, if you were using CLI from your desktop, you could run a command from the webpage https://docs.microsoft.com/en-us/cli/azure/group?view=azure-cli-latest
…and you could then save the JSON to your computer locally. This won’t work in cloud shell but it does from CLI on your desktop:
Export-AzureRmResourceGroup -ResourceGroup rgDemoBuild44 -Path C:\testsavergDemoBuild44.json
Cleanup
Finally, once all our work is done we can just clean up the whole thing by removing the resource group that holds all the things we just created. Pretty cool to make the cleanup so easy actually….
az group delete --name rgDemoBuild44

Remember to clean up your demo builds and to shut down resources you’re not using. Running resources cost you money.
Thanks for hanging in there for the whole walk-through! I use both CLI and ARM templates regularly to make my builds repeatable and predictable. It’s important to have consistent results so that we can move quickly through this stage and get to building out the customized part of a demo or testing environment.