Azure Active Directory Branding
I’ve been building a lot of demos lately and noticed that I often configure the branding for Azure Active Directory. A lot of administrators have asked about where to configure this; so today, let’s have a quick run-through of setting up your Azure AD Branding configuration.
This is not a complex configuration by any stretch as Microsoft has made this really straight-forward to setup for us; but it is an important step to help establish your brand at login. This is quite important to communicate to your users logging into your resources and applications via Azure AD. It can help prevent credential loss — especially if combined with Multi-Factor Authentication. I’ll go through a bit of each of these things in this article.
First, let’s get logged into our testing subscription in Azure at https://portal.azure.com and make sure you’re not in production.
Now, let’s either search at the top for Active Directory, or use the navigation menu to browse to Azure Active Directory main blade. Next, click on the option Company Branding. You can also use this cheat URL here to jump to the correct AAD Branding blade.
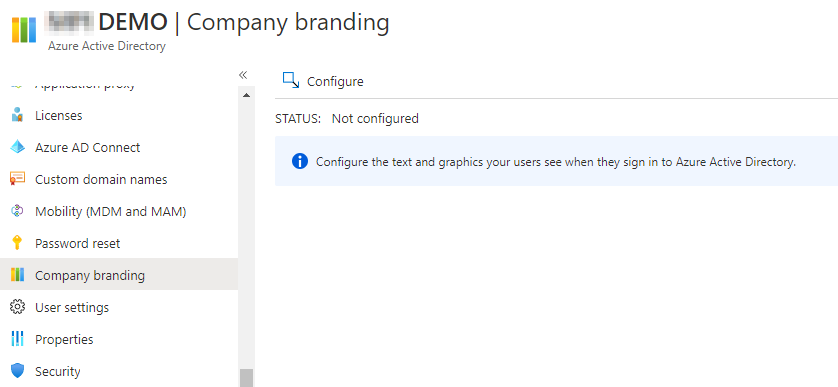
Click on Configure and a new blade will load for you.
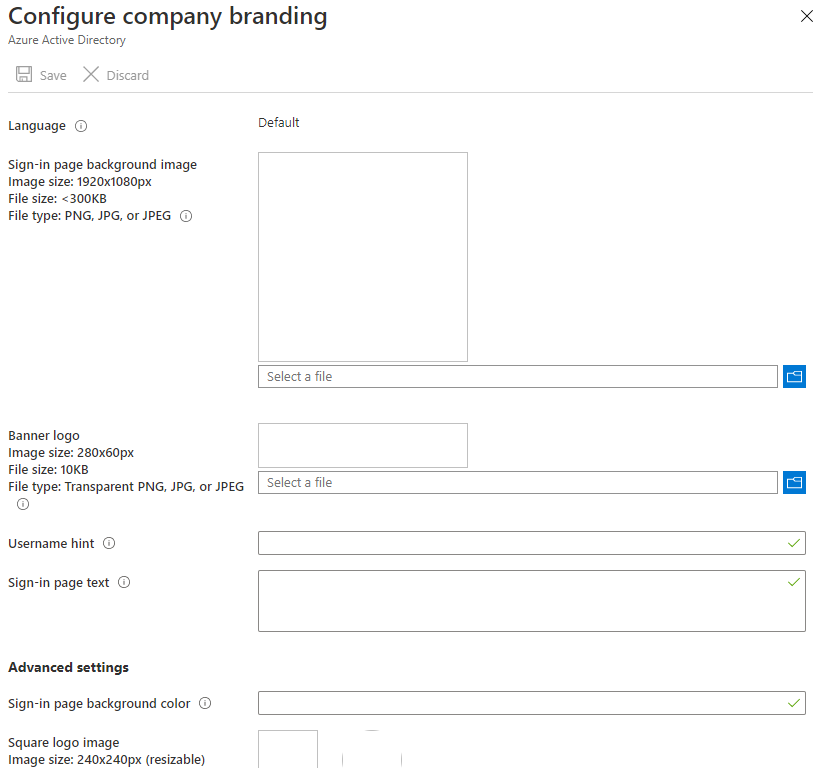
Now there are some requirements to upload the images files for your company branding:
Sign-In Page Background Image: 1920 x 1080px and <300KB file size
Banner Logo: 280 x 60px and <10KB file size
Square Logo: 240 x 240px and <50KB file size
Dark Theme Square Logo: same as other Square Logo (Except darker!)
Now, you should have some other text prepared to fit the rest of the fields for username hint, sign-in page text, and there is one trick here….
On the last option “Show Option to Remain Signed In” — if you select No on this toggle, it may impact some SharePoint Online and web applications in your Azure Active Directory by having users log in more often than previously. Just be aware of this option and test it in a non-production setting.
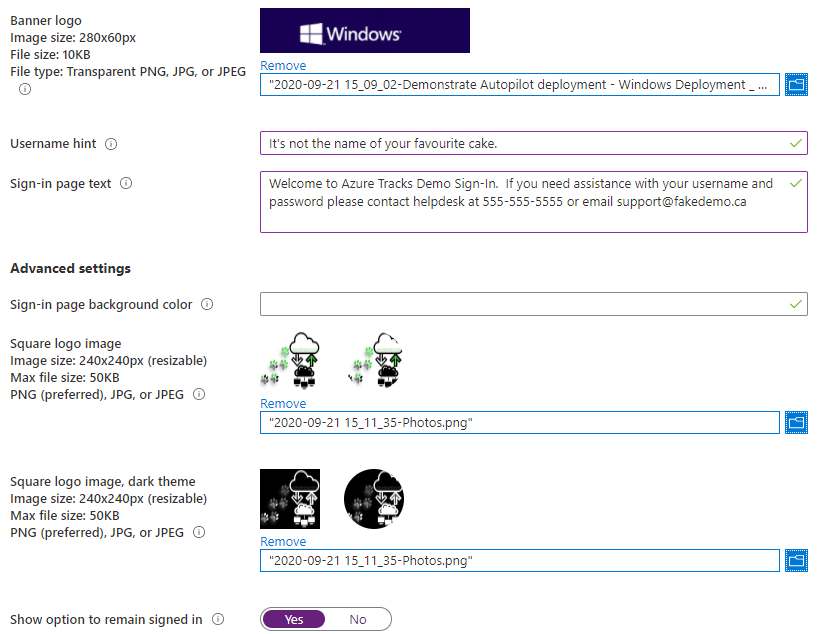
I’ve entered some branding options, so let’s look at the differences. Here is the settings saved:
You can see that now our Company Branding page within Azure Active Directory shows we have a default language configuration. If you are supporting multiple languages in your environment, consider adding images and wording that will help support each language for your users.

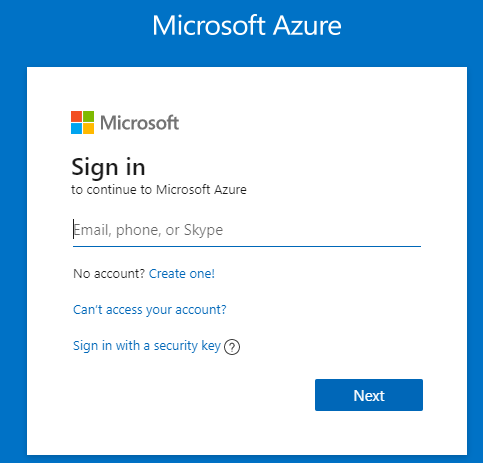
The default logon looks a lot like this:
Our newly configured options make our logon page look awesome:
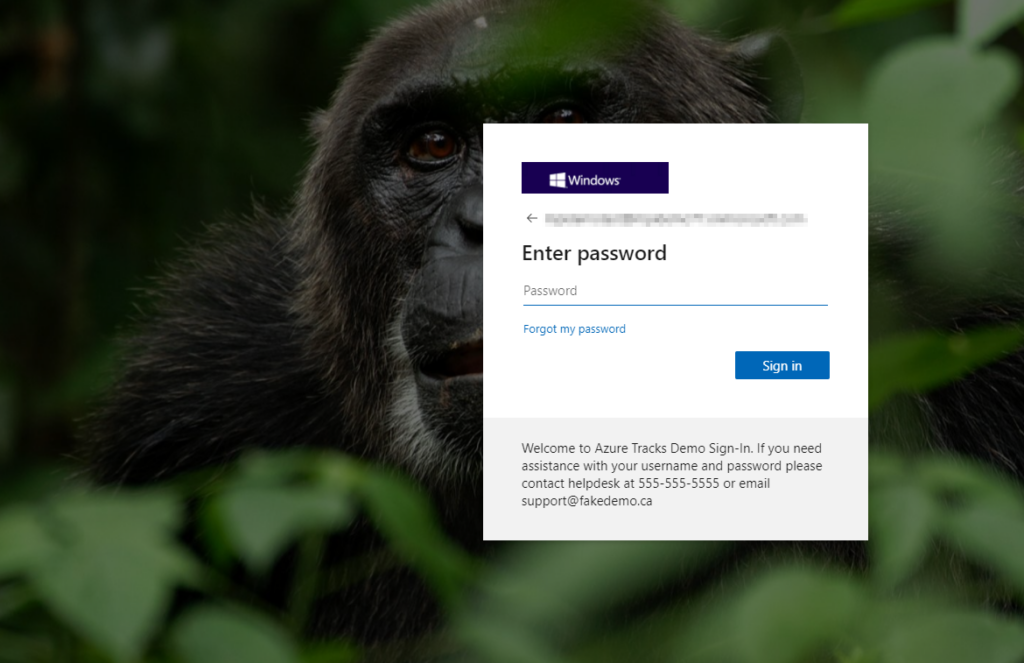
Now your users will be able to more easily recognize they are on the correct page, and you can have a bit of fun setting it all up in your testing subscription. Remember to watch which subscription you are configuring! Now go test it out and get things setup so that your users have more information in their logon screens for Azure.
Bonus Round – MFA
Ok, if you’re still reading all the way down here, let’s take a bonus quick look at Multi-Factor Authentication!
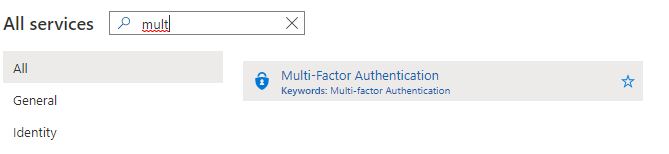
You may need to add a trial license depending on your setup. In this case I’m using No licenses and we’ll go through adding them. From the Azure All Services page, search for Multi-Factor, then select the Multi-Factor Authentication result.
I chose to activate an Azure AD Premium P2 trial for free. In my demo subscription, it costs me nothing to add the trial! Excellent, let’s proceed.

Wait a few minutes, you may even need to log out & back into the Azure portal to have the features load. Once ready it looks a lot like this:
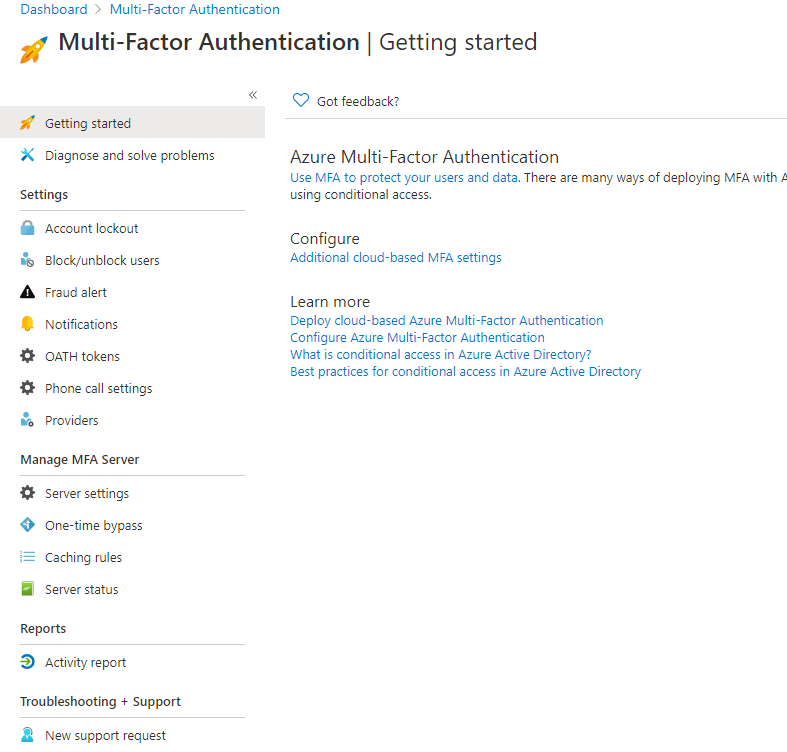
Click on “Use MFA to protect your users and data”:
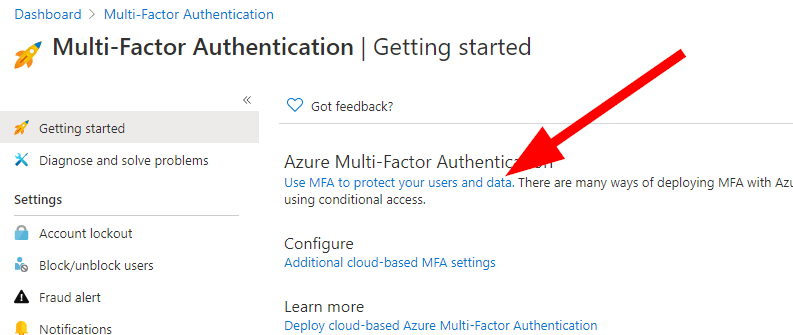
You’ll be taken to a brief tutorial about setting up all your options, things to consider, and a lot of configuration detail overviews. You can browse these here: https://docs.microsoft.com/en-us/azure/active-directory/authentication/tutorial-enable-azure-mfa
Now, let’s jump into setting up a group to use MFA for testing.
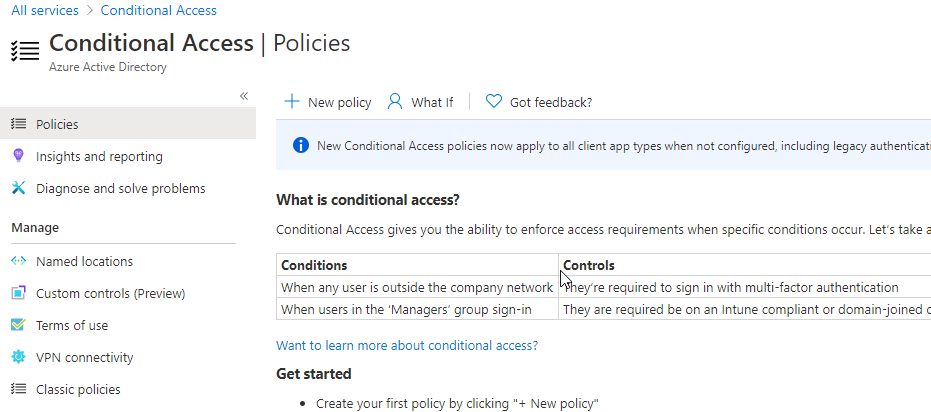
Head into the All Services and search for Conditional Access. Click on the results for Conditional Access and load up the new blade.
Since we are doing this quickly….Name your Conditional Access Policy, select the group you wish to test (Do not include your Admin account here folks — you may get locked out during your testing!), Add Microsoft Management and any other apps you wish to test against, then select conditions and enable Sign-In Risk Assessment:

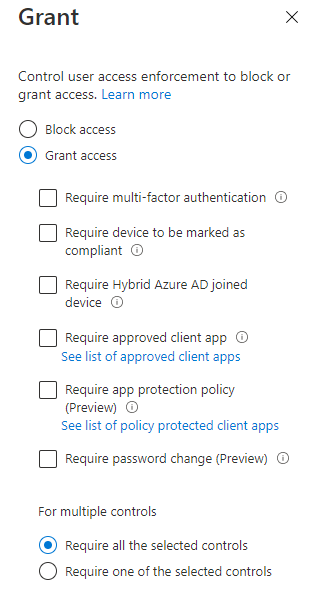
Now select Grant under Access Controls, then check Require Multi-Factor Authentication:
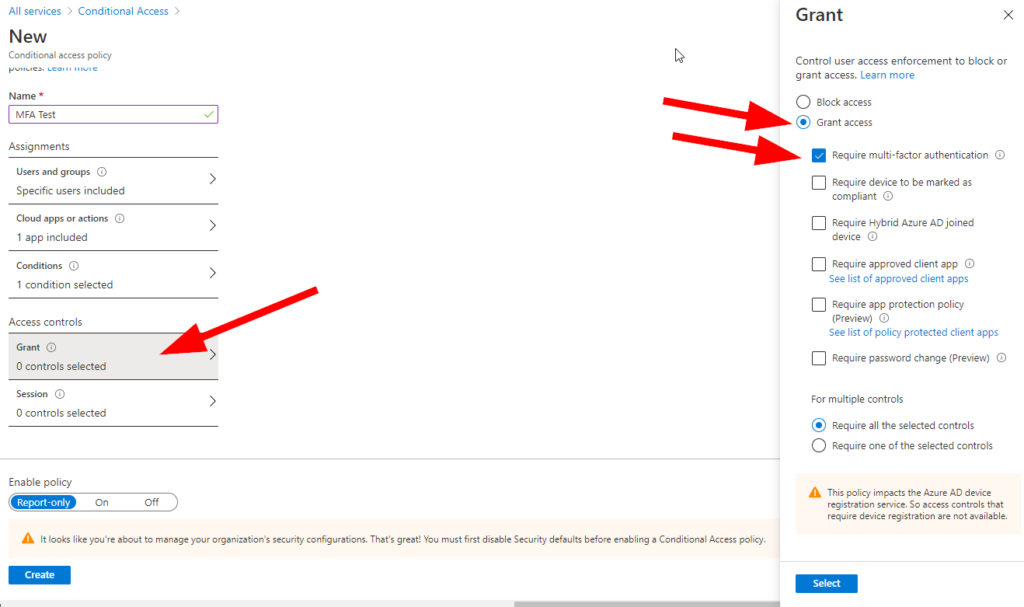
Click on Select, then Create. This policy will only report and not enable, but you have now configured (quite roughly) a Conditional Access policy to allow a group to test the following features:
-A specific group of users will be prompted to setup and use MFA
-Specific apps will require MFA for those users
-Logons deemed High or Medium risk will also be prompted for an MFA token
I’m hoping that you noticed under the Grant blade you can a lot of options to help secure your logons. In addition, you can require all of the selected options or require one of them; this is an excellent feature to help add some flexibility to your security implementation of Azure AD MFA!
Have fun testing!