
How to Deploy Azure Virtual Machines – Part 5 – PowerShell Templates
Using PowerShell to deploy a JSON template via GitHub is our final stop on deployment of Microsoft Azure virtual machines. We’ve looked at 4 other ways to deploy a VM in Azure so far and today we look at one of my favourite deployment methods. Let’s dive right in!
If you missed the start of this series, check out my first post on Azure VMs right here.
Now today things are a little bit similar to my last tutorial, but we’ll use PowerShell instead of clicking on things.
We’re going to use a GitHub Azure Quickstart Template that you can find here:
I’ve put the link into full text above because I want you to take a moment and understand what your loading (same as last time). Microsoft has a lot of quickstart templates published on GitHub that we can use – check out the previous article here to reference the JSON.
Ok, so how I do this is log into an inPrivate session in Edge and log into my testing subscription in Azure at https://portal.azure.com, then I copy the GitHub URL into VS Code or Notepad. Very Easy! Next, let’s get our PowerShell ready.
Once you have yourself all logged into your testing subscription in Azure, open up cloud shell.

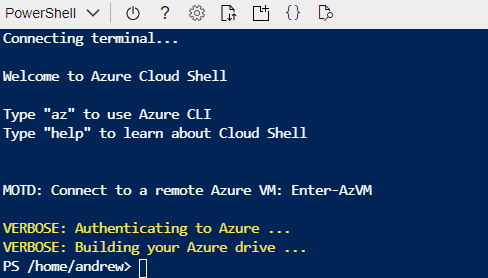
Notice that the default language setting for cloud shell is actually PowerShell. We’ll come back here in moment.
Now, you can customize the PowerShell code any way that you like, so here is what have prepared for us today:
$resourceGroupName = "rgVMCreationGames2"
$location = "Canada Central"
$adminUsername = "soyouracanuckeh"
$adminPassword = Read-Host -Prompt "Enter the administrator password" -AsSecureString
$dnsLabelPrefix = "vmgames51987"
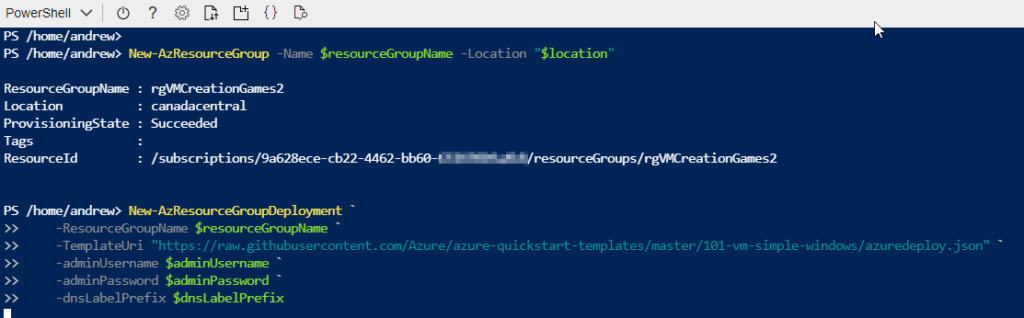
New-AzResourceGroup -Name $resourceGroupName -Location "$location"
New-AzResourceGroupDeployment `
-ResourceGroupName $resourceGroupName ` -TemplateUri "https://raw.githubusercontent.com/Azure/azure-quickstart-templates/master/101-vm-simple-windows/azuredeploy.json" `
-adminUsername $adminUsername `
-adminPassword $adminPassword `
-dnsLabelPrefix $dnsLabelPrefix
(Get-AzVm -ResourceGroupName $resourceGroupName).name
Ok, so we are going to take this PowerShell and copy it into our cloud shell. If you customize this just understand that the variables at the top can prompt us for information to enter in the shell, or we can set them to store values that are passed into the functions ‘New-AzResourceGroupDeployment’ and ‘New-AzResourceGroup’.
*Please pick a random number of 4-6 digits to put on the end of the vm DNS name as this assigns a public DNS name and we are competing with a few other people out there for that name. If you get an error just remove the resource group, change the vm DNS name, then try again. There are better ways to do this, but to keep this scope simple let’s do it the lazy way.
Here we go!
While this is deploying…. notice that we are actually deploying to a new resource group today ‘rmVMCreationGames2’. The reason is that we would need to build a new JSON file to create a virtual NIC or vnic with a different name. To make this easy, we have created a new resource group which gives us a clean slate. That said, you should read the JSON and understand the naming of resources fully if deploying anywhere else other than our testing and learning environment.
After a couple moments your cloud shell will scroll a bit. Make it larger or maximize it, then let’s look at what happened during deployment:

Notice the Resource Group name and Provisioning State. We want to see Succeeded here.
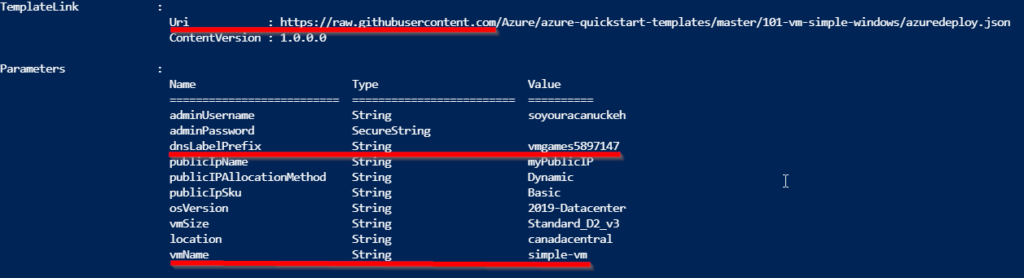
Next, let’s notice that our VM has a default name and the DNS name that we assigned to it. It is also built from a GitHub template – and has been created with Windows Server 2019 as our image.
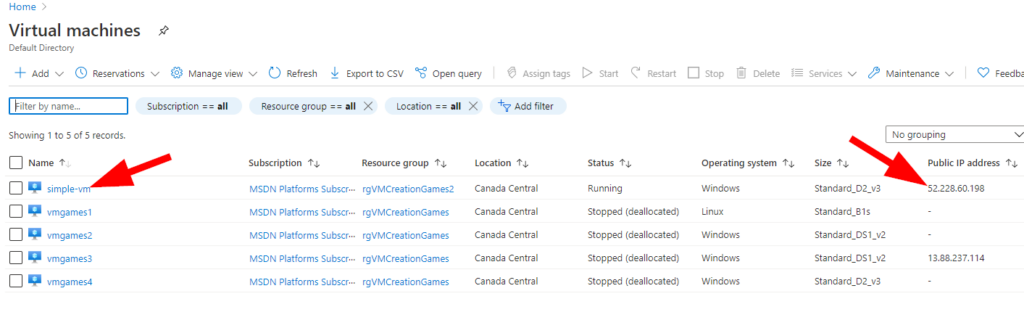
Let’s head back to the virtual machines blade and grab the public IP and connect to the vm using our favourite software or Remote Desktop Connection in Windows 10.
Cool. Now Let’s get connected…
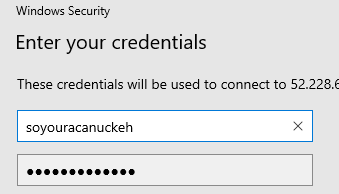
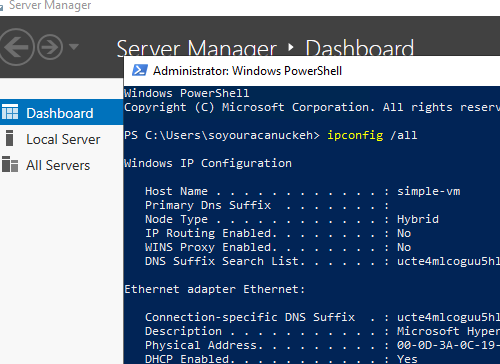
Awesome! We are logged in.
So, this makes a total of 5 different ways to deploy a virtual machine in Azure that we’ve covered together. I sure hope you enjoyed this as much as I enjoyed putting this together for you! One thing that I just can’t get enough of is creating things in Azure…there are so many different ways to do things and there is such flexibility in how we can work.
Remember to shutdown and then de-allocate your resources when you’re done testing and enjoying them. If you’ve followed along for the whole set of articles for creating virtual machines that you can remove the following resource groups when you’re ready:
- rmVMCreationGames
- rmVMCreationGames2
This will ensure that you leave a clean testing environment behind for our next set of fun articles!