Create an Azure Automation Account
Today we’re going to get ready to create some automation in Azure together. The end goal is to get ready to set some PowerShell scripting to follow a schedule and run entirely in Azure. We’ll start with the basics first and go from there. Let’s dive right in and get things started to run with an Azure Automation account first.
The first step is to get logged into the Azure Portal at https://portal.azure.com. Make sure you are logged into your dev/test subscription as we’ll be making some changes and with automation there is always the ability to affect change at scale, so let’s be careful from the start.
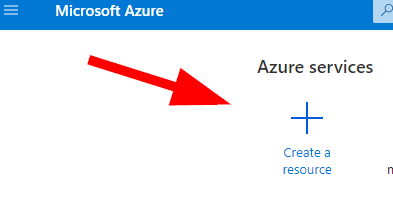
Next, click on Create a Resource:
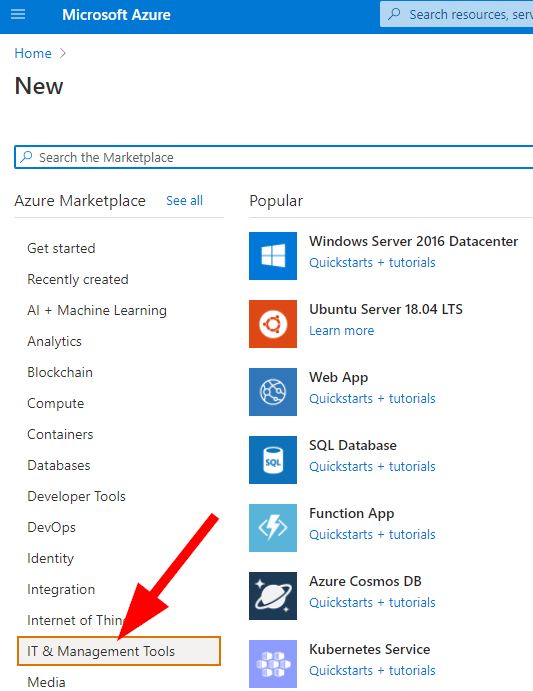
Then select IT & Management Tools from the Azure Marketplace menu on the left side:
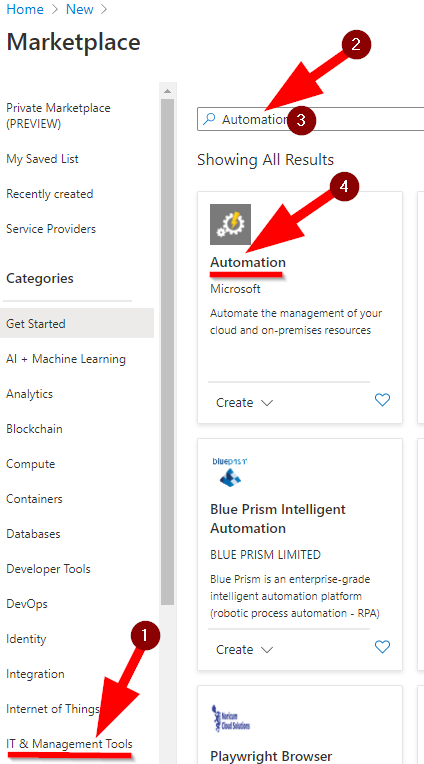
Now I had to also enter ‘Automation’ into the Marketplace search bar, so here are the steps I followed to get the Automation blade:
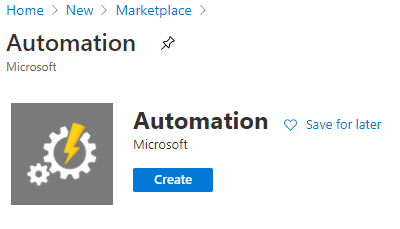
Alright, now you should see the Automation blade. Go ahead and click on Create:
Now you should see the Add Automation Account blade. Here you need to enter the account information for Name, Subscription, Resource Group, Location, and if you want to create an Azure ‘Run as’ account. Note that automation account names are unique per region and resource group. To learn more about Azure Run As accounts please see the Microsoft Docs that outline the security challenges with this here.
Once ready click on Create.

Ok, that was easy! Next time we’ll take a look at adding some fun pieces into this Automation Account. I’m thinking we’ll be using some PowerShell running on a schedule to check for some changes in a website — I’m already looking forward to our next article!