Move Azure Resources to a Different Region – Azure Resource Mover – Part 2
Continuing our Azure Resource Mover tutorial, we will pick up at the Initiate Move stage. This is Part 2 of 2 articles using Resource Mover to move a VM and associated bits to a new region. We are moving our demo VM from West Europe to East US, and it’s been going really well! We left off having completed the Prepare stage on our remaining resources and the Resource Group has already been moved and committed to the new region.
You can find Article 1 of 2 right here.
Let’s pick up where we left off last time….
Now select the resources once they are all showing ‘Initiate Move Pending’. Then click on Initiate Move. Select Initiate and monitor the job. Once complete, select the resources and click on Commit Move.
In a moment when we start the actual move process, be aware that to complete the move the source VM is actually shut down and there is some downtime during the move operation.
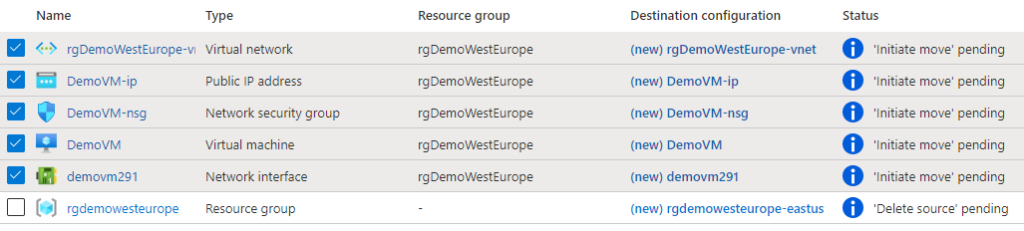
Once the Initiate Move stage is completed successfully you can now Commit the move. In our case we will select the remaining resources in the ‘Commit Move Pending’ status and then select Commit Move.

Here’s what my notifications look like again:
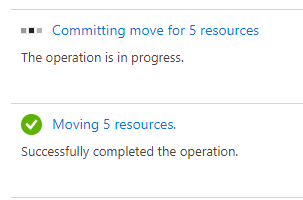
Now everything is moved to the new region in East US!
Notice the VM page in my Azure subscription now:

Note that my old VM is stopped but still exists. Let’s read on…
There are two things to review after the move is committed and completed:
1. The Mobility service isn’t uninstalled automatically from VMs. Uninstall it manually, or leave it if you plan to move the server again.
2. You should review and apply RBAC rules for the virtual machine or other resource again.
Pro Tip:
You will need to remove the resource locks on the ResourceMover Resource Groups to be able to delete them in your cleanup operations.
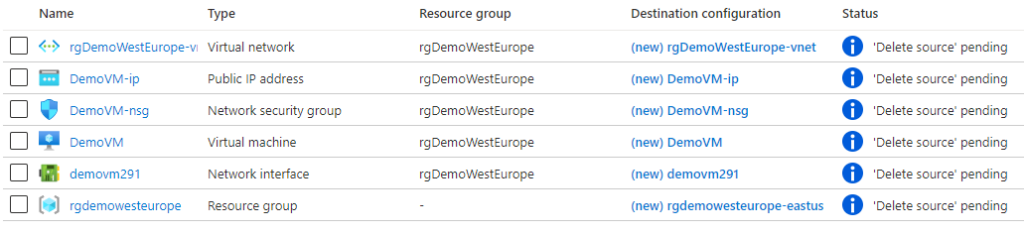
Final Step:
The old resources are still existing in the original region, so to control costs we should review the option of removing them. To do this: in the properties page for each resource, select Delete from on the Resource Mover job screen.
There are a lot of things to do when moving resources around inside Azure, but it is relatively easy to do with some planning. I hope you enjoyed the walk-through and feel like you’re ready to test this out!