Adding Layers of Azure – Security Center – Simple Steps
Continuing my recent theme of adding different layers to your Microsoft Azure setup, I wanted to talk about security pretty early-on. So with security on our minds, let’s also realize we’re going to keep things simple and usable here today. This is a high-level overview of some different things we can do together inside Azure Security Center to help make securing our Azure tenants a bit easier and hopefully more effective — but keeping things simple.
If you are a hard-core security expert you will be quite bored here; please do have a little read-through but remember that the goal is to get anyone not using Azure security features to start learning about them….that said, let’s get this going!
First, let’s jump right into Security Center and what some of the hidden gems in there are. It’s easy to start using it, once logged into your test Azure space then use the search bar and enter ‘Security Center’.
On the first page displayed you may see an ‘Upgrade’ notice talking about standard tier pricing. This is telling you to ‘turn on’ the tiered pricing for the service. The costs are displayed in there and you should have a good read about those costs so you understand what you will be spending. You can select different subscriptions right there, so ensure you have permissions to add some costs on your selected subscription before clicking on upgrade and agreeing to charges. For my test subscription, I clicked on Upgrade to Standard Tier pricing and enabled the Security Center features to run on that subscription. Does that cover the ‘be careful’ part? Ok, let’s move forwards to the fun part now!
One of my favourite things about Security Center is how the Secure Score is just like many of my clients see in Microsoft 365 (the service formerly known as Office 365). This makes the format and concepts of scoring easy to work with as it may already be familiar. This also makes it easy for security teams working with this information.
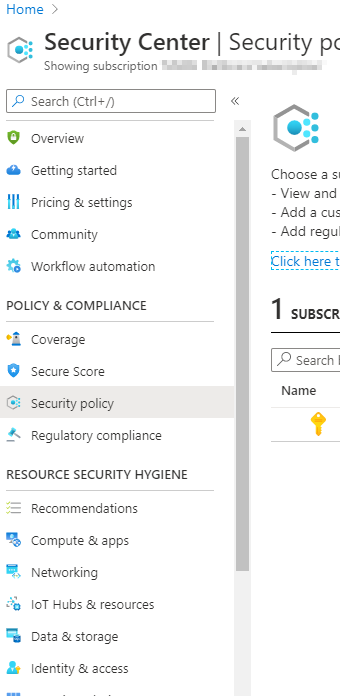
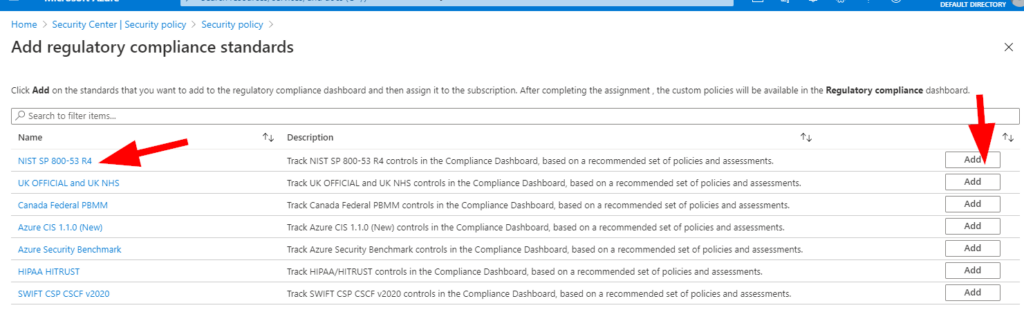
Another awesome feature to look at is Security Policy. Down the menu on the left side of Security Center, you can choose the different sections, select Security Policy, then select the subscription you want to work with (Test Subscription of course!), and finally click on Add More Standards.
Once you Add More Standards you’ll see some different choices. It’s easy to apply a policy by clicking on Add on the right side; so make sure you are in a Testing subscription so you can do a little test-drive first.
The next piece on our quick tour of Security Center is the actual recommendations. On the navigation menu select Compute & Apps.

You can review your recommendations and break them down by service types within Azure as you can see in the screenshot above.
There are loads of more heavy-hitting features in Security Center such as Just in Time VM access, Adaptive controls and network hardening, and File Integrity Monitoring. Not the least of which is Security Alerting that is certainly worth learning and configuring so that you can be made aware of non-compliant events and systems.
Remember, security doesn’t have to be hard to use or reduce functionality! Azure has done an excellent job of presenting complex features in an easy-to-use way to help all of us improve just a bit at a time!
If you don’t have a test subscription in Microsoft Azure already, go grab a free trial at https://portal.azure.com and get started. Start playing with those features and services so that you can implement them in real-life situations and reap those rewards of improved security and knowledge!